Stop Guessing What Merchants Want: Build a Preference Survey Into Your Welcome Flow
This playbook walks through building a Spreeflo welcome journey that captures key merchant preferences via an in-app survey, saves them as attributes, and uses them to personalize onboarding, messaging, and lifecycle campaigns for ecommerce and Shopify apps.
Industry
Niche
Pattern
Loading sequence...
A Shopify app with strong install numbers and weak retention almost always has the same smell: every merchant gets the exact same onboarding.
The solo founder running a $15k/month store, the agency managing 30 clients, and the in‑house ecommerce lead at a brand doing eight figures are all dumped into one generic welcome sequence. Same tips, same examples, same “getting started” checklist.
The sequence at the top of this page is the antidote to that: a simple preference survey wired into your welcome flow so every merchant feels like you’re speaking directly to their world.
In this playbook we’ll walk through how to build that journey in Spreeflo, node by node, for an ecommerce app or Shopify app. The goal is straightforward: capture a few key preferences early, store them as contact attributes, and let those attributes drive every content split for the rest of the lifecycle.
Why “one welcome for everyone” quietly kills your metrics
If you ship a Shopify or ecommerce app, you already know “merchants are not all the same.” But your automation might still be treating them that way.
Typical pattern:
One welcome email after install
A three‑to‑five‑email onboarding “drip”
Occasional feature announcements
Everyone gets the same thing, regardless of:
Role (store owner vs. marketer vs. developer)
Business model (DTC brand vs. dropshipper vs. agency)
Primary outcome (higher AOV, better analytics, smoother ops)
You see it in the numbers:
Open rates are okay on day one, then slide
Click‑through is soft because only 20–30% of a message is relevant to any one reader
You have no clean way to answer “what do our merchants actually care about?”
The core brand belief behind Spreeflo is that you win when you capture detail on every customer so you can speak to each uniquely. For ecommerce apps and Shopify apps, that “detail” doesn’t have to be fancy.
Three well‑chosen questions, answered once, can meaningfully change how every welcome, onboarding, and upsell message lands.
The core pattern: ask a few questions once, personalize everything after
This journey does one job:
Early in the welcome flow, ask each new merchant a tiny set of questions about who they are and what they want from your app. Store every answer as a contact attribute in Spreeflo. From then on, use those attributes in every split and segment.
For a cart recovery app like our fictional CartWizard, that could be:
“What best describes you?”
- Store owner
- Marketing manager
- Agency / consultant
- Developer“What’s your main goal with CartWizard right now?”
- Recover more abandoned carts
- Increase average order value
- Improve email & SMS performance
- Report results to clients“What kind of guidance do you prefer?”
- Step‑by‑step setup tutorials
- Strategy and best practices
- Case studies and examples
Each answer maps to a contact attribute (e.g. role, primary_goal, content_style). From there, Spreeflo’s segment builder and journey splits can treat a “recover more abandoned carts” marketer at an agency very differently from a “report results to clients” consultant.
The rest of this article explains how the sequence at the top of the page does that in practice.
Step 1: Trigger on new installs with Add to Audience
We start the journey with an Add to Audience trigger.
Why this trigger
For most ecommerce apps, a new merchant install flows through your back end anyway. As part of that process, you create or update a contact in Spreeflo (via import, API, or a Spreeflo form somewhere in your signup).
The moment that contact is added to your audience, this trigger fires.
Configuration:
Trigger: Add to Audience
Re-enrollment: off
You want the full “new merchant welcome + preference capture” journey to run once per merchant, not every time you touch their record.
From this trigger, the first node in the sequence is a Send Email action: your core welcome email.
Welcome email content and pacing
Use Spreeflo’s email builder to build a simple, responsive template:
Subject: sets the “we’ll personalize this for you” expectation
- “Welcome to CartWizard — quick setup plus 2 questions”Body:
- First screen: the obvious next step (e.g. “Connect your store” or “Turn on your first flow”)
- Second screen: one short paragraph explaining that next time they open the app, you’ll ask them two quick questions so you can send the right guidance
This email is about orientation and expectation, not the survey itself. You’re priming them so the in‑app questions feel appropriate, not intrusive.
Immediately after this Send Email node, the sequence inserts a Time Delay node.
Configuration:
Time Delay: 1 day (unit: Day)
You can experiment with 4–24 hours here, but don’t stack another Send Email straight away. Every path through the journey must have real spacing between marketing emails, or it starts to feel spammy.
Step 2: Show the survey inside your app with Popup Form
After the delay, the next node is a Popup Form action.
This is where Spreeflo’s forms and automation meet:
You design the survey as a Spreeflo form.
The Popup Form action tells Spreeflo to show that form as a popup to this specific contact while they use your app.
Designing the form
In the form builder (which is part of the forever‑free tier), create a short survey:
Use a Welcome Screen for a friendly, single-sentence intro (“Two questions so we send you the right playbooks”).
Add Multiple Choice or Dropdown questions for “Role” and “Main goal”.
Optionally add one more question for content preference.
Key settings:
Toggle Map to contacts on.
Don’t ask for email — your app already identified the merchant via the Spreeflo SDK (
Spreeflo.identifyin your frontend), so submissions map to the right contact automatically.For each question, set Map to attribute:
- Role →role
- Main goal →primary_goal
- Content preference →content_style
The create and embed forms doc shows these options in detail if you want screenshots.
Configuring the Popup Form action
Back in the journey (the sequence you see at the top of this page), the Popup Form node is configured roughly like this:
Form: your “Merchant preferences” form
Popup embed: a Slider or Popup style
Show on: URLs that match your in‑app dashboard (for a Shopify app, this is your embedded app’s admin URLs)
Attempt window: e.g. 7 days
Frequency cap: “Show at most 3 times over 7 days”
The intent:
Each new merchant sees the survey shortly after they next open the app.
If they dismiss it, it can reappear a couple more times within the first week, then it stops.
Right after the Popup Form node, we add another Time Delay:
Time Delay: 3 days
This gives merchants time to see and submit the survey before we branch based on their behavior.
Step 3: Branch on who completed the survey (and who didn’t)
Next in the sequence is a Check Form Activity process node.
Configuration:
Form: the same “Merchant preferences” form
Activities:
- Branch A:submitted
- Branch B:unsubmitted(not submitted)Else branch: implicit fallback
The journey now has two paths:
Submitted branch: merchants who filled out the survey in those first few days.
Unsubmitted branch: merchants who never submitted it (maybe ignored or dismissed the popup).
For submitters: tag them and move them to the personalized track
On the submitted branch:
Add an Add Tag action.
- Tag:has-preferences
- Force tag trigger: offOptionally, use Update Contact Attribute to set a static flag like:
- Attribute:preferences_captured
- Update type:UPDATE
- Value:trueThen flow into a Merge node that reconnects this branch with the “did not submit” path downstream.
Why bother with both a tag and attributes?
Attributes (
role,primary_goal,content_style) hold the actual answers (and came straight from the form).The
has-preferencestag gives you a quick “did they ever complete this?” flag you can use in other journeys or segments later.
Notice we haven’t sent another email yet on this path. They already got the welcome email; the next email they receive will be the first truly personalized onboarding message based on their answers.
For non-submitters: a single reminder email, then move on
On the unsubmitted branch, the next nodes are:
A Send Email action for a gentle reminder.
A Time Delay (e.g. 2 days) before we merge both paths again.
The reminder email is simple:
Short subject: “Can we send you the right playbooks?”
Body:
- Two sentences on why you’re asking (“Your answers help us skip irrelevant setup steps.”)
- A reminder that the questions appear inside the app, not in email
We don’t link out to a form here. Forms in Spreeflo are designed to be inline embeds or popups inside your app or site, not something you email around. Keeping it in‑app guarantees every answer is tied back to the same tracked contact.
After this reminder and delay, the unsubmitted branch also hits the Merge node so everyone converges back to the main stream, regardless of whether they answered.
Step 4: Use preferences to drive every content split
After the Merge node, the sequence moves into the personalization logic: a Multi-way Split that branches based on the attributes captured by the survey.
Example configuration using the segment builder embedded in the node:
Branch
storeOwner
- Condition: Contact attributeroleisStore ownerBranch
marketer
- Condition:roleisMarketing managerBranch
agency
- Condition:roleisAgency / consultantBranch
developer
- Condition:roleisDeveloperElse branch: anyone whose
roleis blank or something else
Each branch then gets its own onboarding content sequence:
Store owners: emails that connect your features directly to revenue (“recover X carts per month”, “increase AOV with these upsells”), with less technical detail.
Marketers: more emphasis on campaigns, channel strategy, attribution, and reporting.
Agencies: content angled around running multiple stores, client reporting, and collaboration.
Developers: integration details, APIs, and reliability; lighter on marketing theory.
Inside each branch, the structure is familiar:
Send Email: first personalized onboarding email
Time Delay: 2–3 days
Send Email: follow‑up based on their
primary_goalattributeOptional: Check Email Activity to see who clicked, and route high‑intent users to a demo or advanced guide.
The key idea: from this point on, you treat role and primary_goal as first‑class inputs whenever you build a journey or campaign. Any time you’re about to send a “one‑size‑fits‑all” email, stop and run a quick Multi-way Split or If/Else based on those attributes.
Because these attributes came from a form, you didn’t have to infer them from noisy usage signals. They’re explicit.
What to ask (and how to model it cleanly)
For a SaaS or ecommerce app, a good preference survey is:
2–3 questions
All multiple choice or dropdown (no long text)
Mapped cleanly to a small set of contact attributes
You can model it like this:
role(TEXT or select)
- Store owner
- Marketing manager
- Agency / consultant
- Developerprimary_goal(TEXT or select)
- Recover more abandoned carts
- Increase AOV
- Improve analytics and reporting
- Save time through automationcontent_style(TEXT or select)
- Step‑by‑step setup guides
- Strategy and best practices
- Case studies and examples
In Spreeflo, these attributes live alongside your other contact fields under Audiences. The platform overview for audiences explains how attributes, tags, and segments fit together if you want a quick refresher.
Once they exist, you can:
Use them in Multi-way Splits and If/Else nodes inside journeys.
Build saved segments like “Agencies focused on reporting” or “Store owners who care most about AOV”.
Exclude certain groups from generic broadcasts.
Crucially, these attributes are set by the form mapping, not an Update Contact Attribute node. Update Contact Attribute is for static literals (e.g. tagging someone as "preferences_captured" = true), while form mapping writes the actual answer text for each contact.
Measuring whether the survey is actually working
A preference survey is only worth the effort if it leads to better behavior downstream. There are three simple metrics to watch.
1. Survey completion rate
Definition:
Number of contacts who submitted the preference form within 7 days of joining the audience
divided by
Number of contacts added to the audience in that same window.
How to get it:
Use a segment where:
- Filter 1:form_actionSUBMITTED on your preference form, in the last 7 days
For most apps, a 40–70% completion rate is realistic if:
The survey is very short
The popup appears in a calm moment (dashboard, not mid‑task)
You explain the benefit clearly
2. Downstream CTR uplift
You want to know whether people who filled the survey engage more with your onboarding and lifecycle content.
Approach:
Pick a key onboarding email that’s split into variants by
roleandprimary_goal.Build two segments:
- Segment A: contacts with thehas-preferencestag.
- Segment B: similar contacts without that tag (or with blankrole/primary_goal).Compare open and click‑through metrics between the two groups over a couple of weeks.
Because Spreeflo keeps email analytics on each template and campaign, you can see whether the “fully profiled” cohort is your high‑engagement audience.
If you don’t see at least a modest uplift in CTR for the “has preferences” group, revisit the questions or how heavily you use them in your content splits.
3. Segmentation coverage
This is your “how complete is my picture of the audience?” metric.
Using the segment builder:
Build a segment like:
roleis not blank
ANDprimary_goalis not blank
The size of that segment divided by your active contact count is your coverage percentage.
Target:
Short term: 50%+ of active trial and paying users
Longer term: 70–80% of your core audience
When coverage is high, every new journey or campaign you design automatically benefits from those attributes. You don’t need to keep inventing new questions.
Variations and cautions for ecommerce apps
A few tweaks worth considering for ecommerce and Shopify apps specifically:
If you have a headless front‑end instead of an embedded app, you can still use a Popup Form on your own dashboard pages. Just ensure the Spreeflo SDK is installed wherever you show it and that you call
Spreeflo.identifyonce the merchant logs in.For higher‑touch segments (e.g. brands over a certain revenue), you can add a Send Internal Email node after the preference form submission. That notifies you when a big account chooses “enterprise brand” plus “needs reporting” so someone can reach out.
Let merchants change their mind. If you later add the same preference form as a permanent inline section in your app, wire a separate Form Submission trigger (with re-enrollment on) to update attributes and tags whenever they resubmit.
Keep the number of emails in the immediate welcome small. One welcome, one reminder about the survey, then move into your personalized onboarding. You can always add more education later based on engagement.
Above all, resist the temptation to grow this into a 10‑question intake form. You’re not doing research; you’re collecting just enough signal to make every future touch feel like it was written for the person reading it.
The bigger win: a simple system that makes every message smarter
Once this journey is in place, you’ve done something deceptively powerful:
Every new merchant is turned from “Shopify store #18347” into a specific profile in your audience.
Your journeys and campaigns can speak like a specialist instead of a generic “best practices” blog post.
You built it once, and future installs benefit automatically.
For a small team building an ecommerce or Shopify app, this is the kind of automation that compounds. It doesn’t require a data scientist or a complex CDP. Just a form, a few attributes, and a journey like the one at the top of this page wired together in Spreeflo’s campaigns and journeys editor.
If you already have merchants installing your app but still send the same welcome to everyone, this is one of the highest‑leverage changes you can make. Capture who they are and what they care about once, and let that insight quietly improve every message you send from here on.
When you’re ready to go beyond this pattern, the broader platform overview shows how the same data can power re‑engagement, upsells, and product education across email, web push, and in‑app forms — all on the same contact record.
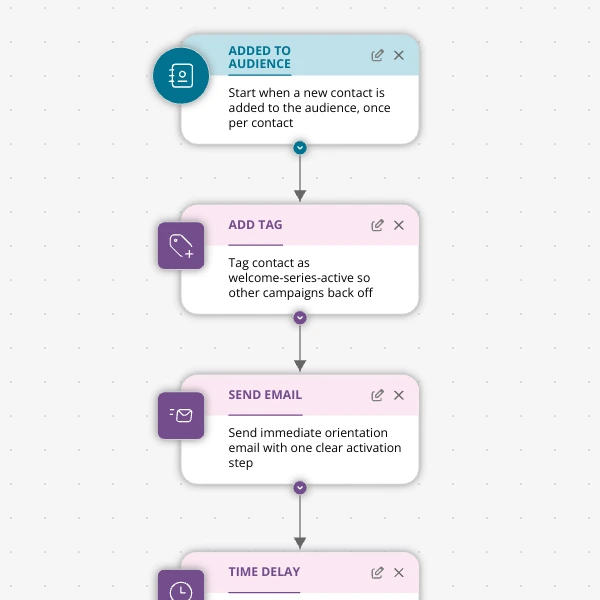
The Shopify app welcome series that turns installs into income
A step-by-step Shopify app welcome email journey for tools like CartSpark, showing how to turn new installs into activated, retained merchants using Spreeflo journeys, tags, and behavioral triggers so fewer trials quietly churn and more trials convert.
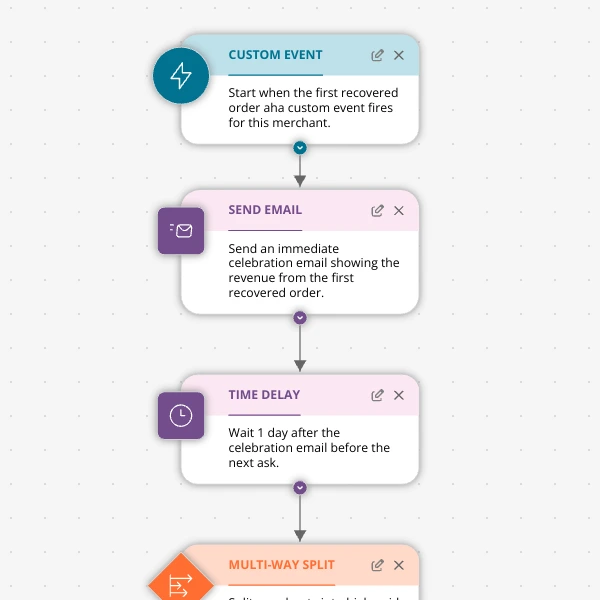
The Aha-Moment Playbook For Shopify Apps: Turn One Magic Action Into Months Of Revenue
A node-by-node playbook for Shopify and e‑commerce apps to center their lifecycle on one aha-moment custom event in Spreeflo, celebrate it, segment merchants by profile and engagement, and turn first recovered value into lasting revenue and retention.
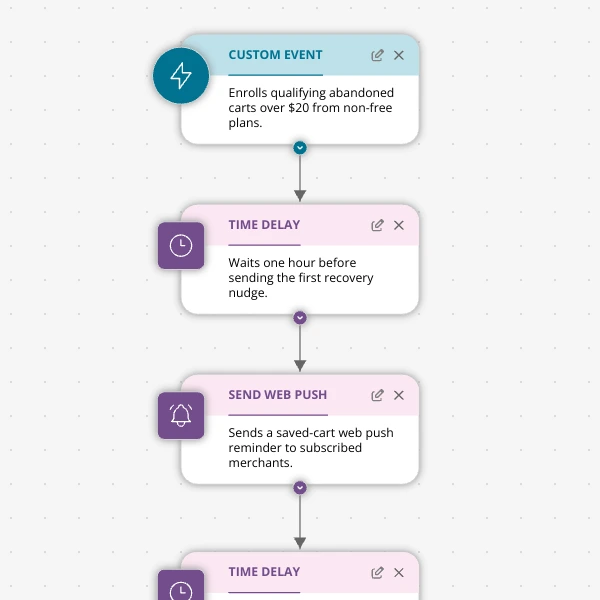
Stop Letting High‑Intent Carts Die: A 3‑Email Recovery Journey for Shopify Apps
A detailed, node-by-node walkthrough of a three-email (plus optional web push) cart-abandonment recovery journey for Shopify apps in Spreeflo, showing how to trigger events, branch on behavior, tag outcomes, and measure recovered carts and revenue.
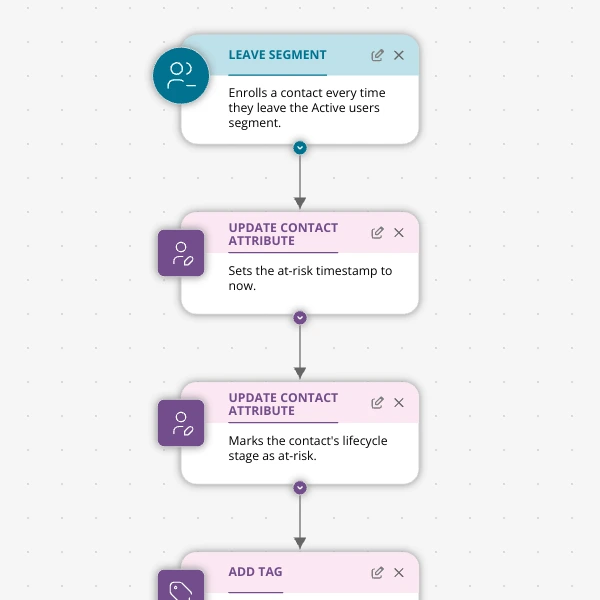
When Active Users Go Dark: A 4‑Touch Win‑Back Journey For Your Shopify App
A detailed, node-by-node Spreeflo journey for winning back previously active Shopify app users who stop engaging, using segment-based triggers, conditional logic, and a four-touch email plus internal alert sequence to recover usage and MRR.