Stop Blind Push Prompts: A Permission-Primer Journey For SEO SaaS
Walkthrough of a permission-primer journey for SEO SaaS using Spreeflo, showing how to time and target in-app push consent prompts, route responses, and measure impact so browser notifications feel like a service, not an ambush.
Industry
Niche
Pattern
Loading sequence...
The fastest way to kill push for your SEO SaaS is to slam a native “Allow notifications?” box in a trial user’s face on first login.
They’re still figuring out where to click. They hit Block. You just burned a high-intent channel for that browser, probably forever.
The sequence at the top of this page is the antidote: a permission-primer journey that warms users up in-app before you ever call the browser’s push prompt.
We’ll walk through it using a fictional rank-tracking tool, RankPulse, a three‑person team doing ~$40k MRR. They want to send real‑time alerts when keywords tank, pages drop out of the index, or a client’s traffic falls off a cliff. But they need a way to ask for push permission that feels like a service, not an ambush.
Why blind push prompts fail SEO tools
Push is perfect for SEO SaaS:
“Your top money keyword just fell from #3 to #9.”
“Google just rolled out a core update; here’s how your tracked sites were hit.”
“Your weekly briefing is ready.”
Those are moments where a browser notification beats an email buried in Promotions.
The problem isn’t push. It’s how most apps ask for it:
The browser prompt appears on the first session.
There’s no context on what you’ll send or how often.
There’s no sense that the user opted into a specific value.
So users do the rational thing: they hit Block. For HTTPS origins, that’s sticky. You can’t reprompt. Your “push strategy” is now dead weight.
For a lean SEO SaaS, that’s wasted attention and lower lifetime value. You’re paying to acquire traffic and trials, then throwing away a high‑leverage retention channel.
A permission primer flips this: you treat push like a product feature with its own UX, not a side effect of installing a service worker.
What this journey does (and where it lives)
At a high level, the journey you see at the top of this page does four things:
Waits until a user has done something meaningful in the app (e.g. added keywords, connected Search Console).
Shows an in‑app primer explaining exactly what push alerts you’ll send them.
Records how they respond, as structured data on the contact.
Routes “yes”, “no”, and “ignored” differently so future messages stay relevant.
The actual browser permission request is still triggered from your frontend using Spreeflo.webpush.showPrompt() or Spreeflo.webpush.requestPermission(). The journey’s job is to decide who should see the primer, when, and what you say based on their behavior.
Everything we’ll describe uses:
A behavioral trigger (Custom Event / Add to Audience).
A Popup Form action for the in‑app primer.
Branching and tagging built on the same segment builder you use elsewhere.
Spreeflo’s Pro‑plan web push, configured in the web push setup guide.
Step 1: Trigger on behavior, not just sign‑up
In the sequence, there are two triggers because RankPulse has two meaningful “moments”:
Add to Audience When someone becomes a contact (trial signup, demo request, etc.), they enter the journey from the Add to Audience trigger.
isReEnrollmentis set to false so this only ever happens once per contact lifetime.Custom Event:
added_first_keywordRankPulse tracks aadded_first_keywordevent from their frontend with the Spreeflo SDK once someone adds a keyword or campaign. For anyone already in the audience, this Custom Event trigger is the better starting point, so it hasisReEnrollmentset to true.
Why both?
- The Add to Audience arm catches new sign‑ups who haven’t done anything yet.
- The Custom Event arm catches users who might have been in your database for months but only now engaged enough for push to make sense.
On the backend (billing events, imports, external tools), they send the same added_first_keyword event server‑side via the Spreeflo API. That keeps the trigger consistent whether the action happened in the UI or via an integration.
For an SEO SaaS, you could swap in whichever milestone matters:
connected_search_consolegenerated_content_briefran_site_audit
The principle is the same: don’t even talk about push until someone has touched the core value.
Step 2: Let them see value before you ask
From both triggers, the journey first goes into a Time Delay.
RankPulse uses two slightly different delays:
From Add to Audience: wait 3 days.
From Custom Event
added_first_keyword: wait 4 hours.
Why the gap?
New trial users often explore in short bursts. Three days gives them a chance to click around, add a domain, and see rankings without being hit with a “turn on alerts” request in the first five minutes.
Once they’ve explicitly added their first keyword, they’re closer to understanding the value of “we’ll ping you when this moves”. A shorter delay keeps the pitch feeling connected to that action.
In both cases, the delay is set in days/hours (Spreeflo’s Time Delay supports only those units). No one gets an immediate popup the second they become a contact.
Step 3: Use If/Else to target only engaged users
After the delay, each arm flows into an If/Else node that asks:
“Is this contact engaged enough for push to feel like a benefit?”
The condition uses the segment builder with two rules grouped under AND:
Custom Events:
added_first_keywordtriggered at least 1 time over all time.Total Visits: at least 2 visits in the last 7 days.
That gives you a “Ready for push” branch:
They’ve done a core action (so they understand what the tool does).
They’ve been back at least once (so they care enough to return).
Everyone else takes the “Not ready” branch:
Maybe they signed up, never added a domain, and bounced.
Maybe they clicked into a report once and left.
For “Not ready”, the journey simply exits. You’re deliberately not showing a primer or bothering them about push. They have bigger problems (like not hitting Aha! at all).
This is where Brand Message 1 shows up in practice: you’re treating contacts differently based on precise behavioral detail, not pushing the same permission request to everybody.
Step 4: Show the in‑app primer with a Popup Form
On the “Ready for push” branch, the next node is a Popup Form action.
This is your in‑product primer.
RankPulse builds a simple form in Spreeflo’s form builder:
A short Welcome Screen with copy like: “Want instant alerts when rankings move?”
“We use browser notifications to… • Alert you when priority keywords drop. • Nudge you when audits find critical issues. • Send a weekly summary if you opt in.”A Yes/No question: “Do you want browser alerts for this workspace?”
Map that question to a boolean contact attribute, e.g.
wants_push_alerts.No email field — this is shown only to already‑identified users in the app.
Then they connect that form to a Popup embed and pick that embed in the Popup Form node:
Show on: only URLs that match
/app/dashboardor/app/projects.Frequency cap: show at most once per contact per 30 days.
Expiration: keep it live for 90 days, then stop (they’ll review performance by then).
Because this action is powered by the full SDK, it only fires when the contact is actively on the app. That’s exactly what we want: a soft, contextual message while they’re working, before the browser permission prompt appears.
Under the hood, Spreeflo handles:
Rendering the popup form to the right contact.
Mapping their Yes/No answer back to
wants_push_alertson the same contact record.Logging “shown” and “submitted” for that form so you can branch on it later.
Step 5: Give them time to answer, then branch on their preference
Immediately after the Popup Form node, the journey inserts another Time Delay, usually 1 day. This gives people a fair chance to see and answer the primer.
Then comes the crucial routing: a Multi‑way Split based on how they answered.
The split uses three conditions on the wants_push_alerts attribute:
Branch “Opted In” - Contact attribute
wants_push_alertsis true.Branch “Explicit No” - Contact attribute
wants_push_alertsis false.Branch “No Response” - Contact attribute
wants_push_alertsis blank.
The segment builder supports boolean attributes with operators like “is true”, “is false”, and “is blank”, so this is straightforward to express.
This is where the detail you captured through the form starts to pay off:
People who clicked Yes can be treated as high‑intent for push.
People who clicked No should be respected and excluded from future permission nudges.
People who never answered might get a second chance later, or left the product altogether.
Step 6: Act on each path differently
Each branch now gets its own small tail of actions.
6.1 When they raise their hand (“Opted In”)
On the “Opted In” branch, RankPulse does three things:
Add Tag:
wants-push-alertsAn Add Tag node applies awants-push-alertstag. This makes it easy to target or exclude this cohort in other journeys and campaigns.Short delay A Time Delay of 1 hour, to avoid an immediate back‑to‑back message.
Send Email: “Here’s how we use alerts” A single Send Email node, built in the email builder, explains:
- What kinds of notifications they can expect (rank drops, audit failures, weekly digest).
- How often you’ll send them.
- A reminder that their browser may ask for permission and they should click Allow if they still want alerts.
The email is configured with “Send only once” on, so even if the contact re‑enters this branch in the future, they won’t see duplicates.
The actual browser permission prompt is triggered from RankPulse’s frontend — for example, when the user visits a “Notifications” settings page and flips an “Enable browser alerts” toggle, the app calls Spreeflo.webpush.requestPermission().
Because you already know who said Yes in the primer, you can bias your UX around those people: surface that toggle more prominently, or pre‑fill parts of their notification settings.
6.2 When they say no (“Explicit No”)
On the “Explicit No” branch:
Add Tag:
push-opted-outSo they’re easy to exclude from any future push‑related flows.Update Contact Attribute:
push_consent_status = "opted_out"An Update Contact Attribute node writes a static string like"opted_out"to apush_consent_statusattribute. This is not dynamic; it simply marks everyone on this path identically.
The branch then exits. No nagging, no second‑chance prompts. If they later change their mind inside your app’s settings, that’s a separate, more explicit opt‑in.
6.3 When they ignore you (“No Response”)
For “No Response”:
Add Tag:
push-primer-shown-no-response.Exit the journey.
RankPulse doesn’t try again immediately. Later, they may design a separate re‑engagement journey that looks for active users with push-primer-shown-no-response and retries the primer after a few weeks, or after the user hits a new milestone like “ran 3 audits”.
The important thing is that you’re treating “ignored” differently from “explicit no” — another example of speaking to each customer uniquely based on behavior.
Step 7: Configure push itself once the primer is working
While the journey handles who to nudge and how, you still need to turn on web push itself.
In the Spreeflo dashboard, RankPulse walks through the web push documentation:
Install the service worker at
/spreeflo-sw.js.Configure site name, icon, and default behavior.
Choose the opt‑in pattern.
For a permission‑primer flow, the Dialog pattern is usually the right choice: a custom modal that explains what notifications are for, and only then triggers the browser’s native prompt when accepted.
Because your in‑app Popup Form primer has already educated and segmented users, the Dialog copy can be short and direct:
“We’ll use notifications only for ranking changes and weekly reports — never generic marketing.”
“You can change this anytime in Settings → Notifications.”
From there, your product’s UI decides when to call Spreeflo.webpush.showPrompt() or Spreeflo.webpush.requestPermission(). Many SEO tools tie it to an explicit “Enable alerts” button in their notifications screen to keep consent crystal‑clear.
Step 8: Measure whether this is actually helping
A pattern like this should be justified in numbers, not vibes. RankPulse watches three things:
Push opt‑in rate - How many contacts saw the primer? (Form “Shown” count.) - How many clicked Yes? (Contacts with
wants_push_alerts = true.) - How many ended up receiving at least one notification? (Segment where Web Push Activity “sent at least 1” in the last 30 days.) The ratios between those three give you a clean funnel from primer → consent → actual subscription.Downstream session lift In the web analytics dashboard (enabled on the free plan), they compare: - Segment A: contacts with
wants_push_alerts = true. - Segment B: contacts who were eligible for push (engaged) but either said No or never answered. Then they look at Total visits or sessions over the last 30 days for both segments. A healthy primer + push strategy should show higher visit counts for Segment A. Building those cohorts uses the same segment builder you used inside the journey, just now for reporting.Notification CTR and behavior after clicks Web push analytics in Spreeflo tell you clicks and dismissals per notification. For key alerts (e.g. “Keyword dropped out of top 10”), RankPulse watches: - Click‑through rate. - Follow‑up behavior: do they run an audit? Adjust a brief? Visit a project page? Those are just more custom events in your system.
If CTR is strong but behavior doesn’t change, your alert content is off. If CTR is weak, your primer might be promising one thing while notifications deliver another.
Adapting this to different SEO product lines
The same skeleton works whether you’re:
A content‑brief tool like “BrieflySEO”.
A technical audit platform.
A hybrid rank tracker + content optimizer.
The only thing that changes is what the primer promises, and therefore who gets it.
For example:
If the user has generated at least one content brief but never run a technical audit, your primer copy and segment condition should talk about “new low‑CTR pages” and “fresh content opportunities”, not crawl errors.
If they’ve run multiple site audits, your primer should emphasize “critical site issues we’ll flag as soon as we see them”.
You can express that in Spreeflo by adding another Multi‑way Split before the Popup Form:
Branch A:
generated_content_briefat least 1 time.Branch B:
ran_site_auditat least 1 time.Branch Else: fallback copy.
Each branch points to a different Popup Form node with tailored copy, but the rest of the journey (branching on wants_push_alerts, tagging, email follow‑up) stays the same.
This is the core idea behind Spreeflo’s positioning: capture detailed behavioral data once, then speak to each customer uniquely, at scale, without hiring a bigger team.
Why this journey earns its keep
For a small SEO SaaS team, adding browser push is tempting and a little scary. There’s code to ship, UX to design, and the risk of annoying your best customers.
By wrapping it in a permission‑primer journey:
You only ask high‑intent users, at the right time.
You treat “yes”, “no”, and “ignored” as three different stories instead of one blob of “didn’t click Allow”.
You keep all of that intent data — events, answers, tags — on a single contact record you can reuse across other campaigns and journeys.
The result isn’t just a higher push opt‑in rate. It’s a cleaner, more respectful relationship with the people who pay your bills — the kind of nuance founder‑led businesses can execute with automation, while bigger competitors are still throwing generic prompts at everyone.
Build this once, let it run quietly in the background, and every new trial that reaches “aha” will see the right primer, at the right time, with the right promise.
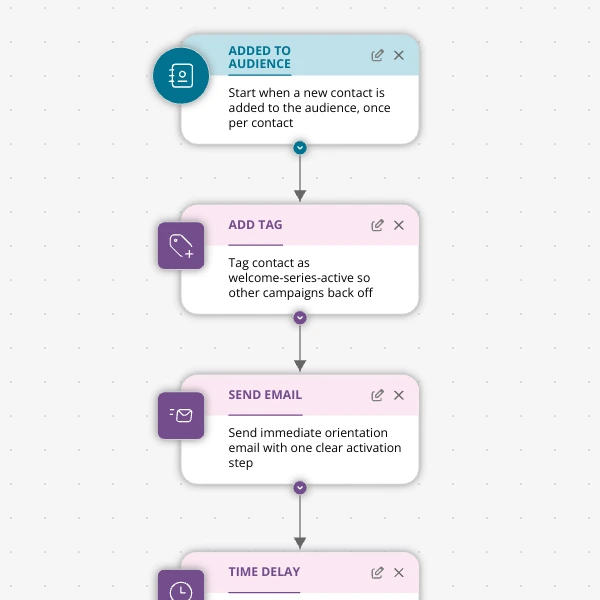
The Shopify app welcome series that turns installs into income
A step-by-step Shopify app welcome email journey for tools like CartSpark, showing how to turn new installs into activated, retained merchants using Spreeflo journeys, tags, and behavioral triggers so fewer trials quietly churn and more trials convert.
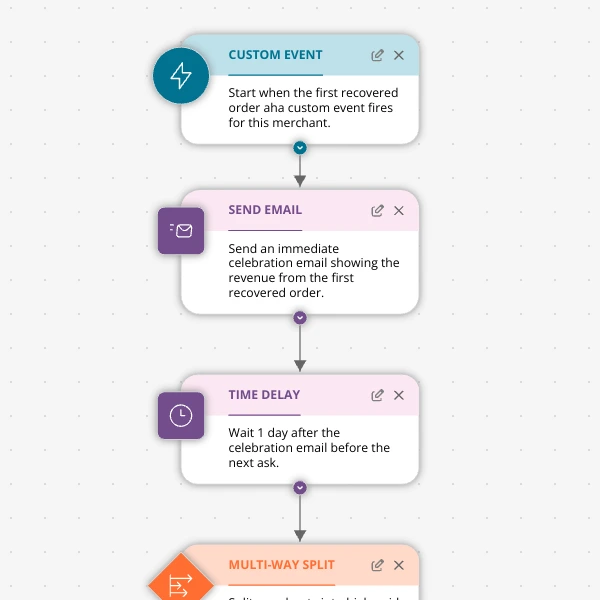
The Aha-Moment Playbook For Shopify Apps: Turn One Magic Action Into Months Of Revenue
A node-by-node playbook for Shopify and e‑commerce apps to center their lifecycle on one aha-moment custom event in Spreeflo, celebrate it, segment merchants by profile and engagement, and turn first recovered value into lasting revenue and retention.
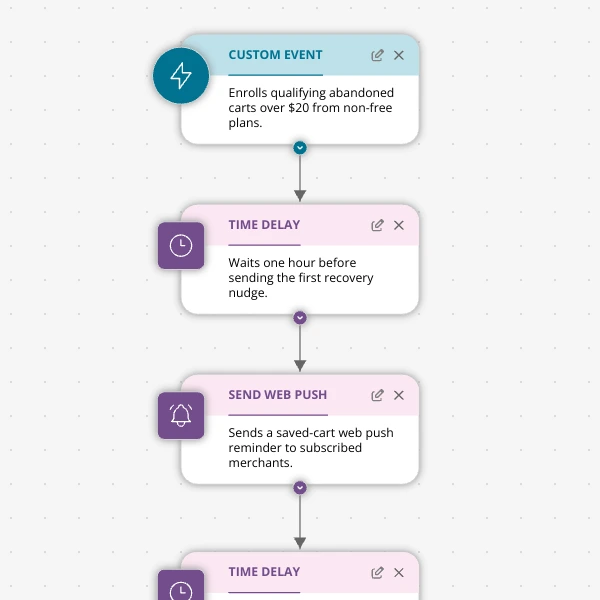
Stop Letting High‑Intent Carts Die: A 3‑Email Recovery Journey for Shopify Apps
A detailed, node-by-node walkthrough of a three-email (plus optional web push) cart-abandonment recovery journey for Shopify apps in Spreeflo, showing how to trigger events, branch on behavior, tag outcomes, and measure recovered carts and revenue.
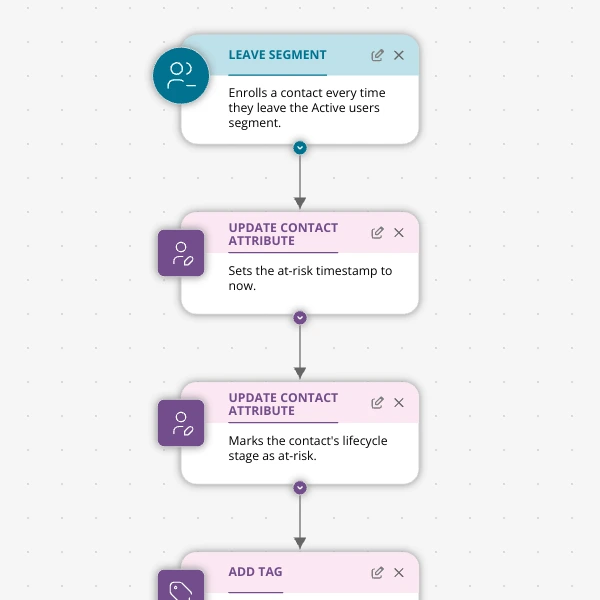
When Active Users Go Dark: A 4‑Touch Win‑Back Journey For Your Shopify App
A detailed, node-by-node Spreeflo journey for winning back previously active Shopify app users who stop engaging, using segment-based triggers, conditional logic, and a four-touch email plus internal alert sequence to recover usage and MRR.