Stop Guessing Who Loves Your SEO Tool: Build a Post‑Purchase NPS Loop That Closes the Loop
This playbook walks SEO SaaS teams through building a post‑purchase NPS journey in Spreeflo that triggers on subscription, captures scores, routes customers by sentiment, and drives structured follow‑ups to reduce churn and grow lifetime value.
Industry
Niche
Pattern
Loading sequence...
Two weeks after someone pays for your SEO tool is when the truth shows up: they either found their groove, or they quietly bounced back to Ahrefs and a spreadsheet.
The sequence at the top of this page is the whole journey, end to end — a post‑purchase NPS loop that asks “How likely are you to recommend us?”, routes people by score, and makes sure both your team and the customer see a response.
Imagine SerpMatic, a $55k MRR rank‑tracking SaaS. Trials convert well. Churn in month one is ugly. They “send an NPS email sometimes,” but nobody owns the follow‑up. Promoters never get asked for reviews. Detractors never hear from a human. And nobody can answer the simple question: “How do our happiest customers differ from the rest?”
This playbook fixes that with a single journey.
Why bother with an NPS loop when you’re already drowning?
You already track MRR, churn, and trial‑to‑paid. So why add one more metric?
Because NPS is one of the few signals that tells you who is at risk, not just how many.
For an SEO SaaS, that’s gold:
Agencies scoring you 9–10 are ready for referrals, case studies, or higher‑tier plans.
In‑house teams at 0–6 are quietly churning next month if nobody steps in.
Score + behavior (e.g., “generated 15 content briefs, NPS = 10”) tells you exactly which ICPs you should be optimizing for.
Most founders send a single NPS email, skim the replies, and move on. The leak isn’t the lack of NPS; it’s the lack of a system around NPS:
No consistent timing: some customers get asked, some don’t.
No routing by score: promoters, passives, and detractors all get the same (non‑existent) follow‑up.
No structured data: insights live in a Gmail thread, not on the contact.
Spreeflo’s whole point is to turn this into a repeatable, data‑rich loop. You build it once in the campaigns and journeys editor, and it runs for every future customer.
Let’s walk through the journey node by node.
Step 1: Get a clean “subscription started” event into Spreeflo
Everything else depends on knowing when a customer became a paying user.
For a typical SEO SaaS, that’s your billing system (Stripe, Paddle, Lemon Squeezy). The right way to get that into Spreeflo:
Your backend listens for the payment / subscription webhook.
When a subscription activates, your server POSTs to the Spreeflo API with an event like
subscription_startedand the customer’s email.
This is a server‑side concern, so it must go through the HTTP events API, not the JavaScript SDK.
You’ll also want to set a numeric contact attribute like nps_score (NUMBER) and a timestamp attribute last_nps_at (TIMESTAMP) in your data model. When someone later answers NPS, your app’s frontend calls Spreeflo.identify(email, { nps_score: 9 }) to store the score on the contact.
That attribute is what the journey will branch on.
Step 2: Trigger on the subscription event, then wait 14 days
On the canvas, your first node is:
Trigger: Custom Event
Event name:
subscription_startedProperty conditions: none to start (you can later restrict to specific plans if needed).
Re‑enrollment: usually off, so each contact runs this flow once per account lifetime. Turn it on only if you consciously want to re‑survey on every churn → re‑subscribe cycle.
Immediately after:
Action: Time Delay
Delay: 14 days
Unit: Days
Why a Time Delay instead of trying to be clever with a date‑based Cyclic trigger?
Because for “14 days after this event,” a simple Custom Event → Time Delay is both precise and resilient. The date‑based complexity is handled for you. The “Date‑Based / Cyclic” pattern still fits later if you decide to run ongoing NPS sweeps, but for the first post‑purchase touch, this is the cleanest path.
You now have: “whenever someone becomes a paying customer, wait exactly two weeks, then…”.
Step 3: Send an NPS invite email that your tracking can understand
Next node:
Action: Send Email
This is your NPS invite. Build it in the email builder with something like:
Subject: “Quick question about [Product]: 0–10”
Body: one short line explaining NPS, then 11 buttons or links labeled 0 through 10.
Each score links to a page in your app, e.g.:
https://app.serpmatic.com/nps?score=0https://app.serpmatic.com/nps?score=1https://app.serpmatic.com/nps?score=2https://app.serpmatic.com/nps?score=3https://app.serpmatic.com/nps?score=4https://app.serpmatic.com/nps?score=5https://app.serpmatic.com/nps?score=6https://app.serpmatic.com/nps?score=7https://app.serpmatic.com/nps?score=8https://app.serpmatic.com/nps?score=9https://app.serpmatic.com/nps?score=10
On that page, Spreeflo’s JavaScript SDK is already installed for web tracking. When the page loads, your frontend:
Identifies the visitor as the contact (email in the query string or session).
Sets the
nps_scoreattribute on the contact to the score in the URL.
You can also track a custom event like nps_response for analytics, but the key for the journey is that nps_score gets populated.
Two important implementation details:
Respect pacing. This NPS invite is likely not the first email in your onboarding. Make sure nothing else sends within an hour or two of it on any given path.
Enable “send only once.” In the Send Email node, keep “Send only once” on so a contact never receives duplicate NPS invitations if you later reuse this node.
Now you’re emailing every new customer at a predictable time with a rating email your automation can interpret.
Step 4: Wait for a response, but don’t stall forever
Not everyone will answer. Your automation needs to move on anyway.
Add:
Action: Wait Condition
Condition: contact attribute
nps_scoreis not blank.Timeout: 7 days
Unit: Days
Semantics:
If the customer clicks any score in that first week and your app sets
nps_score, the Wait Condition ends early.If they ignore you, the timer expires after 7 days and the journey continues with
nps_scorestill blank.
Immediately after the Wait Condition, add:
Action: Update Contact Attribute
Attribute:
last_nps_at(TIMESTAMP)Update type: Set to now
This stamps the moment this NPS cycle ran, whether or not they answered. That becomes useful later for periodic NPS or segmenting on “last surveyed more than 90 days ago.”
At this point, every paying customer has:
Been asked for an NPS rating.
Either responded (with
nps_scoreset) or not.A
last_nps_attimestamp for this touch.
Time to route.
Step 5: Split contacts into promoters, passives, detractors, and no‑shows
Now drop in a Multi‑way Split process node.
You’ll define three score‑based branches, plus use the automatic else branch as your “did not respond” path.
Branch 1: Promoters (9–10)
Condition group:
nps_scoregreater than 8AND
nps_scoreless than 11
Given your scale is 0–10, that captures 9 and 10 cleanly.
Branch 2: Passives (7–8)
Condition group:
Sub‑group with OR:
nps_scoreis 7nps_scoreis 8
Branch 3: Detractors (0–6)
Condition group:
nps_scoreless than 7
Else branch:
No condition — this catches everyone with nps_score blank (no click), or any edge cases.
Under the hood, each branch uses the same segment builder logic you use for saved segments. The difference is that it routes in real time.
Now you have four streams of customers, each needing a different kind of follow‑up.
Step 6: Close the loop with promoters (without pestering them)
On the Promoter branch, add:
Action: Add Tag
Action: Send Internal Email
Action: Time Delay
Action: Send Email
Tags:
nps_promoterForce trigger: off (unless you have other journeys listening to “Added Tag: nps_promoter”).
This makes promoters easy to find for future campaigns and dashboards.
Recipient: team or founder inbox (e.g.
success@serpmatic.com).Subject: “New NPS promoter: {{contact.email}} scored 9–10”
Body: include key context: plan, company, last login, top features used.
Your team now has a feed of happy users they can invite for testimonials or beta programs.
1 day
Unit: Days
This spacing keeps you from sending two marketing emails (NPS invite + ask for review) on the same day.
A short “thank you + ask” email framed around their specific use case.
For an SEO SaaS, that might be:
Ask agencies to refer other clients.
Ask in‑house teams to leave a G2 review.
Offer early access to a new feature like AI‑generated briefs.
Because nps_promoter is now a tag, you can also build a separate broadcast campaign later to this audience without touching the automation.
Step 7: Turn passives into future promoters
Passives (7–8) like the product but see gaps. They’re your easiest upgrade path.
On the Passive branch:
Action: Add Tag
Action: Send Internal Email
Action: Time Delay
Action: Send Email
Tag:
nps_passive
Subject: “NPS passive: {{contact.email}} scored 7–8”
Body: focus on account context: what features are they not using that correlate with higher scores?
1 day
A short, honest email along the lines of:
“What would need to be true for us to be a 10 for you?”
Offer two or three quick‑reply prompts (e.g. “Missing features”, “Too hard to use”, “Too pricey”) plus an open invitation to reply.
Because this is just an email (not a form), replies come straight to your inbox, with the contact already tagged as nps_passive for tracking.
Over time, you’ll see patterns: “People who never connect Google Search Console score us lower,” for instance. That’s actionable product and onboarding insight.
Step 8: Catch detractors before they churn
Detractors are the people your churn chart is already hinting at. The whole point of automation here is to surface them fast and make human follow‑up non‑negotiable.
On the Detractor branch:
Action: Add Tag
Action: Send Internal Email
Optional (Pro): Action: Webhook
Action: Time Delay
Action: Send Email
Tag:
nps_detractor
Recipient: founder or head of customer success.
Subject: “ALERT: NPS detractor {{contact.email}} ({{company}}) scored {{nps_score}}”
Body: include their plan, MRR, tenure, and last few in‑app actions from your web tracking.
This email is the “do not ignore” alarm. For a 5‑person team, you can literally pipe every detractor into a shared inbox and require a reply within 24 hours.
If you’re on Professional, you can use a Webhook node to push detractors straight into your support or CRM system (e.g., create a ticket in Help Scout or a deal in Pipedrive). The Webhook action sends an HTTP request with selected contact fields; your backend can route it further.
1 day
This leaves space for a human to reach out manually before any automated follow‑up goes.
A personal‑looking email from the founder, acknowledging the rating and inviting direct feedback.
Even if only a fraction reply, this is where you save accounts that would otherwise quietly disappear. And because detractors are tagged, you can analyze retention and upgrade patterns later: “Do detractors who we contact within 24 hours churn less?”
This is exactly where most businesses leak lifetime value — by spotting an unhappy user and then doing nothing structured with that knowledge.
Step 9: Decide what to do with non‑responders
The else branch from your Multi‑way Split catches people with no recorded nps_score after the Wait Condition timeout.
You have three options here, depending on how aggressive you want to be:
Do nothing, but track it.
Try an in‑app nudge instead of another email.
Send a softer follow‑up later.
1. Do nothing, but track it.
Add Tag:
nps_no_response.Use that segment later to tweak subject lines or send a different kind of check‑in.
2. Try an in‑app nudge instead of another email.
If you’re on Professional and have the Spreeflo SDK installed in your app, you can show a tiny NPS popup form the next time they log in:
Use a Spreeflo form with a 0–10 rating question mapped to
nps_scoreand an optional “tell us more” long‑text field.Embed it as a popup via the Forms product and SDK (see the forms and popup guide).
Use a separate journey with a Popup Form action node that targets only contacts tagged
nps_no_response.
This keeps forms strictly in‑app, where the SDK can auto‑map responses to the right contact — no survey links inside emails, no extra email noise.
3. Send a softer follow‑up later.
If you recycle email here, leave a decent gap (another week or two) and make the copy different enough that it feels like a check‑in, not “NPS spam.”
Whichever route you pick, non‑responders become a conscious audience, not an unknown blob.
Step 10: Make NPS a first‑class part of your audience, not a one‑off
Once this journey is live, NPS becomes a contact attribute like “plan” or “company type.” That’s where Spreeflo’s segmentation model shines.
Some ways to use it:
Build a “Promoter – Agency” segment:
nps_score > 8AND tag containsagency_customer.Create a “High‑fit detractor” segment:
nps_score < 7ANDplan is ProANDtenure > 90 days.Filter your web analytics by NPS: see how promoters’ page visits differ from detractors using the web tracking and analytics dashboard.
Now, when you design future journeys, nps_score and the tags from this loop are just more inputs to your targeting. You can:
Send launch announcements only to promoters to seed early adoption.
Run a “win‑back” flow on churned detractors 6 months later.
Offer a discount to passives who cite “price” in their feedback.
You are literally capturing more detail on every customer so you can speak to each uniquely. That’s the lever that takes you from “generic onboarding blasts” to “this email feels like it was written for me.”
Adapting the pattern to your own SEO SaaS
Everything above assumes a simple “subscription started” moment. You can get smarter:
For an AI content‑brief tool, trigger from a
generated_first_briefevent instead of pure billing. The 14‑day window might start when they first see value.For a technical SEO crawler, you might wait until
completed_second_audit, then shorten the Time Delay to 7 days — power users form strong opinions faster.Use property conditions on the Custom Event trigger to exclude low‑intent plans (e.g., free trials or internal test accounts).
And if you want ongoing NPS (not just the first one), layer in a second journey with a Cyclic trigger:
Cyclic runs every week.
Criteria:
last_nps_at is before 90 days agoANDnps_score is not blankANDEmail subscription status is Subscribed.First action: Update
last_nps_atto now, then send a shorter “check‑in NPS” email that reuses the same 0–10 click pattern.
That’s your true NPS loop: first measurement post‑purchase, then periodic pulses for active customers.
The quiet compounding effect of closing the loop
An NPS journey like this doesn’t feel dramatic the week you turn it on. It’s just one more automation in your account.
But over a quarter or two, the compounding shows up:
You know who your promoters are, not just your retention rate.
You have a system that pulls detractors into view and forces a response.
You’re no longer guessing which segments of your audience genuinely succeed with your SEO tool.
Most importantly, you stopped treating “customer happiness” as a vague feeling and turned it into structured data and concrete, automated actions.
For a founder‑led team, that’s the kind of system that keeps lifetime value from leaking out the bottom of the bucket — without adding another weekly task to your calendar.
If you already have trials, billing, and web tracking in place, wiring up this NPS loop in Spreeflo is a weekend project. The sequence at the top of this page is your blueprint. Once it’s live, every new customer quietly feeds you the one signal most SaaS teams never get around to capturing.
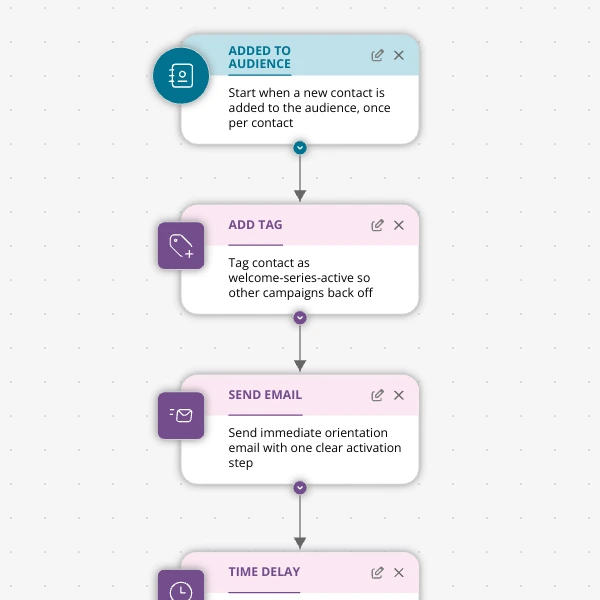
The Shopify app welcome series that turns installs into income
A step-by-step Shopify app welcome email journey for tools like CartSpark, showing how to turn new installs into activated, retained merchants using Spreeflo journeys, tags, and behavioral triggers so fewer trials quietly churn and more trials convert.
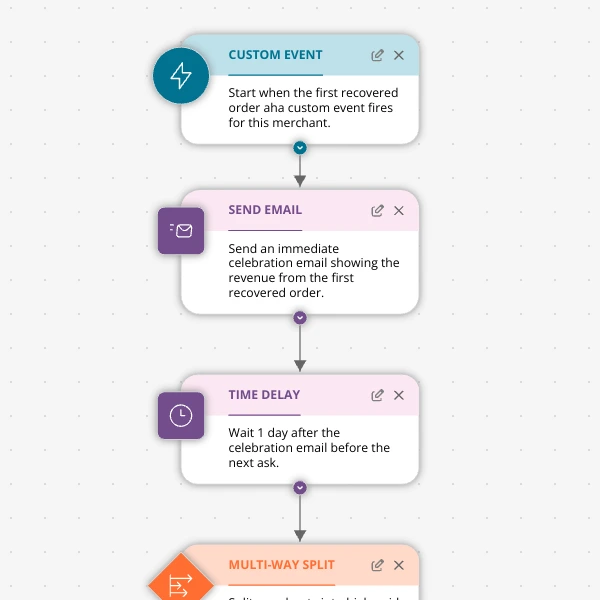
The Aha-Moment Playbook For Shopify Apps: Turn One Magic Action Into Months Of Revenue
A node-by-node playbook for Shopify and e‑commerce apps to center their lifecycle on one aha-moment custom event in Spreeflo, celebrate it, segment merchants by profile and engagement, and turn first recovered value into lasting revenue and retention.
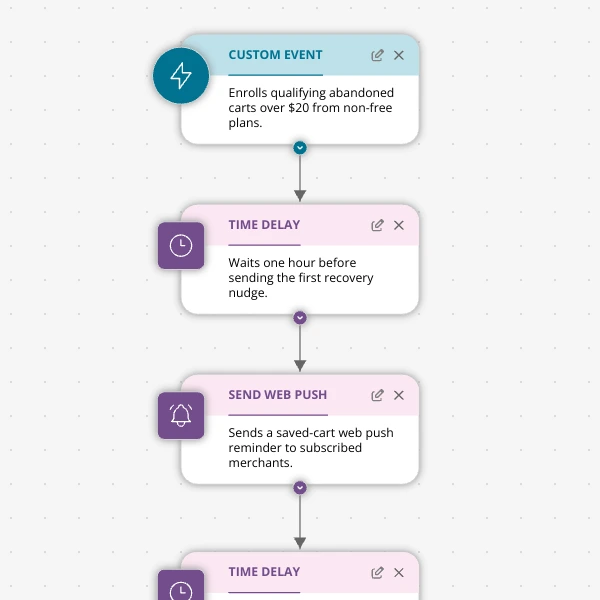
Stop Letting High‑Intent Carts Die: A 3‑Email Recovery Journey for Shopify Apps
A detailed, node-by-node walkthrough of a three-email (plus optional web push) cart-abandonment recovery journey for Shopify apps in Spreeflo, showing how to trigger events, branch on behavior, tag outcomes, and measure recovered carts and revenue.
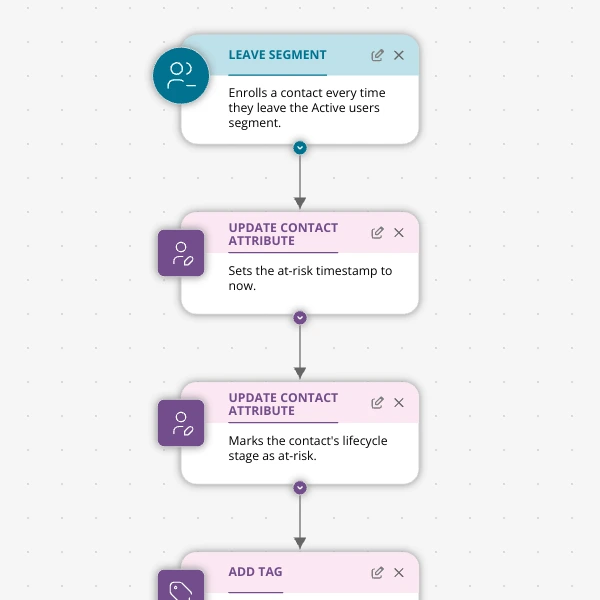
When Active Users Go Dark: A 4‑Touch Win‑Back Journey For Your Shopify App
A detailed, node-by-node Spreeflo journey for winning back previously active Shopify app users who stop engaging, using segment-based triggers, conditional logic, and a four-touch email plus internal alert sequence to recover usage and MRR.