Stop Guessing Your Send Time: A Simple Journey to Test It for You
A step-by-step journey pattern in Spreeflo for SEO SaaS teams to A/B test onboarding email send-times using behavioral triggers, Random Split, delays, tags, and segments so you stop guessing and let your users reveal when they actually want to hear from you.
Industry
Niche
Pattern
Loading sequence...
You’ve probably had this conversation with yourself: “Do my users open best right after they touch the product, or the next morning when they’re in inbox mode?” Then you pick a time, send the campaign, and move on… still guessing.
For an SEO SaaS, that guess can be the difference between “trial ghosted” and “trial activated”. The sequence at the top of this page is the whole journey, end to end, that stops the guessing and turns send-time into a controlled experiment.
Let’s walk through how it works for a fictional SEO SaaS, RankPulse: a three-person team with ~$35k MRR, sending a key onboarding email after someone adds their first keywords. We’ll keep the copy, audience, and template identical. The only thing we change is when the email goes out.
Spreeflo’s journey builder does the heavy lifting: one behavioural trigger, one Random Split, two different Time Delays, and identical Send Email nodes. You set it up once; the experiment runs quietly in the background while you ship features.
Why send-time is a bigger lever for SEO SaaS than you think
SEO tools sit in a strange place in a marketer’s day. Some users live in them. Others only open them when they remember rankings exist.
That’s why timing matters:
Right after they add their first keyword, they’re mentally “in” your product but might be heads-down in other work.
A few hours later, they see early rank checks or brief outputs and are ready for a “here’s what to do next” nudge.
The next morning, they’re in clean-inbox mode and more likely to process an onboarding email properly.
The point: you don’t know which of those states generates more opens and plan upgrades for your audience. But you can know, and you don’t need a data team or a separate A/B testing tool to find out.
With Spreeflo, send-time tests are just another journey pattern. You define the behaviour that matters, drop in a Random Split, add different Time Delay nodes before identical emails, and use tags and the segment builder to read the results.
Pick the behavioural moment that matters
This pattern works with almost any behavioural trigger. For SEO SaaS specifically, good candidates include:
started_trial– the welcome or “here’s how to get started” emailadded_first_keyword– teaching them how to interpret ranking reportsgenerated_content_brief– nudging toward publishing and measuring resultsconnected_search_console– showing how to use integrated datainactive_for_30_days– a win-back “here’s what you’ve missed” email
In the sequence at the top, we’ll focus on added_first_keyword, fired by your backend to Spreeflo’s events endpoint via the Spreeflo API. Every time a contact adds their first keyword set, your app emits a added_first_keyword custom event tied to their email.
In the journey editor, you wire that to a Custom Event trigger:
Trigger type: Custom Event
Event name:
added_first_keywordProperty filter (optional): for example, plan is Trial or Starter using event properties
Re-enrollment: off, so each contact only goes through this experiment once
That last piece matters. You want clean experimental data, not the same contact bouncing through multiple times and muddying open and conversion rates.
Once that trigger is set, every relevant user who hits this moment quietly enters your experiment.
Build the send-time experiment journey, step by step
Let’s go node by node through the sequence.
1. Custom Event trigger: capturing the moment
The journey starts with:
Node: Custom Event trigger
Event:
added_first_keywordProperty conditions: (optional) for example, only for users where
planproperty is “trial”Re-enrollment: false
Why Custom Event instead of, say, Add to Audience? Because this experiment is about time relative to behaviour, not time relative to signup. You care about “when should we send the ‘here’s how to get value’ email after they add keywords”, not “what’s the best generic welcome time”.
If you later want to reuse this trigger logic elsewhere, you can wrap the same criteria inside a saved segment and also use a Join Segment trigger in other journeys. For this isolated test, a single Custom Event trigger is simpler.
2. Optional tagging: mark experiment participants
Immediately after the trigger, drop in an Add Tag action:
Node: Add Tag
Tag:
exp_send_time_first_keywordsForce tag trigger: off (you’re not chaining other journeys off this tag)
This tag isn’t required for the journey to run, but it makes analysis easier. You can later build a segment like “contacts tagged with exp_send_time_first_keywords AND email opened at least 1 time for this template” to calculate open and conversion rates, or simply to exclude past participants from future tests.
3. Random Split: create your variants
Next comes the core of the pattern: a Random Split.
Node: Random Split
A branch label: “early”
B branch label: “late”
Percentage weight: 0.5 (50% early, 50% late)
Random Split ensures contacts are assigned to variants randomly, which is how you isolate send-time as the only variable. You’re not segmenting by geography, device, or engagement tier; those factors are distributed across both branches by chance.
Technically, you could run three or more timing variants by chaining Random Split nodes. For a first experiment, two clear hypotheses are easier to reason about:
Early: an email one hour after keyword creation
Late: an email 24 hours after keyword creation
That’s exactly what the two branches in the sequence represent.
4. Early branch: Time Delay + Send Email
On the “early” branch, add three actions in order:
Add Tag:
exp_send_time_first_keywords_early\nThis separates early-variant contacts from late-variant ones.Time Delay: 1 hour\n- Duration: 1\n- Unit: Hour(s)
Send Email: “Your first rankings in RankPulse: what to look for”\n- Template: either a new marketing email built in the email builder or a saved template\n- From address: whichever sender identity you use for onboarding\n- Send only once: on
There is no Time Delay less than one hour in Spreeflo, so “near-immediate” variants are usually either no Time Delay or a one-hour delay. Here, the hour gives a bit of breathing room so the email arrives when they’re likely out of the initial setup tunnel but still remember exactly what they did.
The copy of this email is identical across both branches. Subject line, preheader, body, CTA, link tracking – all the same. The whole point is to keep every other factor fixed while timing changes.
5. Late branch: a longer delay, same message
On the “late” branch, mirror the early branch with a different delay:
Add Tag:
exp_send_time_first_keywords_lateTime Delay: 24 hours\n- Duration: 1\n- Unit: Day(s)
Send Email: same template as the early branch\n- If you duplicate the Send Email node, make sure the underlying marketing email template is the same one
Spacing matters for user experience as well as measurement. There are no back-to-back Send Email nodes on either path; every send is preceded by a Time Delay and only one email is sent in this experiment.
Once each branch sends its email, you can either end the journey there or MERGE back into a shared path if you want later steps to behave identically regardless of send-time variant.
6. Optional: measure downstream behaviour inside the journey
Open rate is the primary metric for a send-time test, but you probably care more about what happens next:
Do they generate a second content brief?
Do they add more keywords?
Do they upgrade to a paid plan?
You can either measure those outcomes in reporting only, or you can bake some of that logic into the journey.
A simple extension looks like this after each Send Email:
Wait Condition node:\n- Condition: Custom Event
generated_content_brieftriggered at least 1 time in the last 7 days\n- Timeout: 7 days, unit Day(s)If/Else node:\n- Condition: same as above\n- “Yes” branch: Add Tag
exp_send_time_first_keywords_converted\n- “Else” branch: Add Tagexp_send_time_first_keywords_no_conversion
Now you have clean tags for both the timing variant and the conversion outcome. That makes later analysis and follow-up segments trivial.
Reading the results without extra tooling
Once the journey is live and has processed enough contacts, you’ll want to answer two questions:
Which send-time variant produced higher opens and clicks?
Did that higher engagement translate into better behaviour – more usage or upgrades?
Spreeflo gives you three places to look.
First, open the marketing email template itself. The per-email analytics view shows opens, clicks, and other engagement metrics. Because both branches use the same template, the overall numbers are blended, but they give a baseline.
Second, use tags and the Audiences view to slice by variant:
Build a segment where:\n- Contact is tagged with
exp_send_time_first_keywords_early\n- Email Activity → selected template → opened at least 1 time in the last X daysClone it and swap the tag for the late variant
Now you can compare open and click rates between early and late directly. Same story for any conversion tags you added later in the flow.
Third, if you care about long-term retention or expansion, reuse those same tags in your core KPI segments. For example, a “highly engaged” segment might be:
Member of segment: “Active customers”
Contact is tagged with
exp_send_time_first_keywords_early
AND
Compared to the same definition with the late tag, you start to see whether early or late send-time correlates with healthier accounts months down the line.
Because you’re doing all this inside Spreeflo’s campaign and journey automation, there’s no CSV exporting or BI integration step just to answer “when should we send this email”.
Where to take the experiment next
Once you’ve run a clean two-variant test and rolled out the winner, you have options.
You can:
Test different offsets: if one hour beats 24, try one hour versus four hours.
Test time-of-day by combining behaviour with a Wait Condition:\n- For example, wait until “Contact Added Date is within today AND local time is after 9am” before sending.
Run separate experiments for different cohorts:\n- Agencies that live in SEO all day versus solo founders who only check once or twice a week.\n- New trials versus long-time paying users adding new projects.
The pattern stays the same:
Behavioural trigger.
Random Split to create test cells.
Different Time Delay configurations.
Identical Send Email content.
Tags and segments for analysis.
You design it once, then either let it run until a clear winner emerges or time-box it to a specific number of participants and switch to the winning timing afterwards.
Leverage over headcount, in one afternoon
This is where the “founder-led businesses win on leverage, not headcount” message becomes real.
A bigger team might have a lifecycle marketer, a data analyst, and a marketing ops person coordinating a send-time test across several tools. You have a small team, a backlog, and churn to fight. You can’t afford that overhead.
Instead, you:
Spend an hour in Spreeflo wiring up a journey like the one at the top of this page.
Let the platform run a clean, controlled send-time experiment for every relevant user, indefinitely.
Use tags, segments, and email analytics to read the result and update your default timing.
Move on to the next experiment without adding another tool to your stack or another person to your payroll.
That’s leverage. You’re no longer arguing about “gut feel” send times or copying generic advice from a blog post about “best time to send SaaS emails”. You’re running your own tests, on your own audience, with automation doing the grunt work.
And because Spreeflo’s pricing is built around founder-led teams rather than bloated enterprises, you can keep stacking patterns like this – send-time tests, win-back journeys, trial accelerators – without watching your bill ramp out of proportion to your MRR. If you want a clear sense of what that looks like as you grow, it’s worth skimming Spreeflo’s pricing and the deeper breakdown in the pricing-plan explainer.
Send-time experiments aren’t a “nice to have” once you hit $100k MRR. They’re one of the simplest, highest-leverage ways to get more from the lists and events you already have. Build this journey once, let it run, and let your own users tell you when they actually want to hear from you.
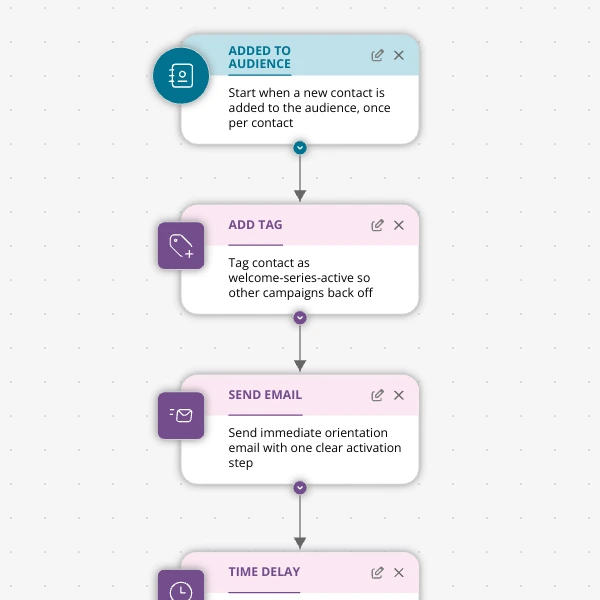
The Shopify app welcome series that turns installs into income
A step-by-step Shopify app welcome email journey for tools like CartSpark, showing how to turn new installs into activated, retained merchants using Spreeflo journeys, tags, and behavioral triggers so fewer trials quietly churn and more trials convert.
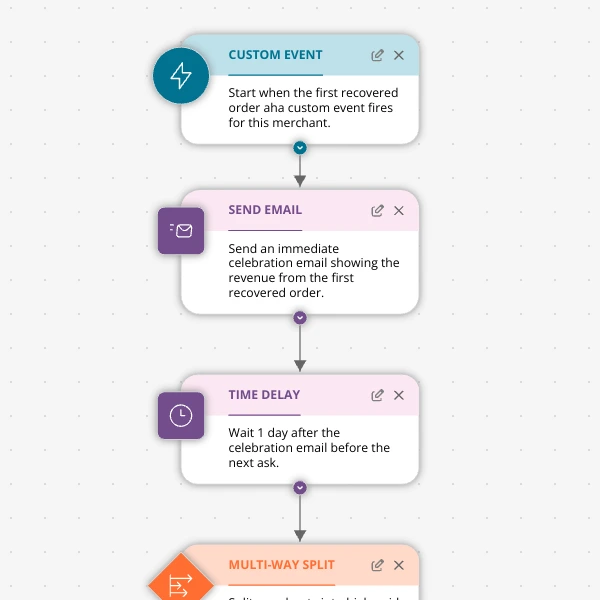
The Aha-Moment Playbook For Shopify Apps: Turn One Magic Action Into Months Of Revenue
A node-by-node playbook for Shopify and e‑commerce apps to center their lifecycle on one aha-moment custom event in Spreeflo, celebrate it, segment merchants by profile and engagement, and turn first recovered value into lasting revenue and retention.
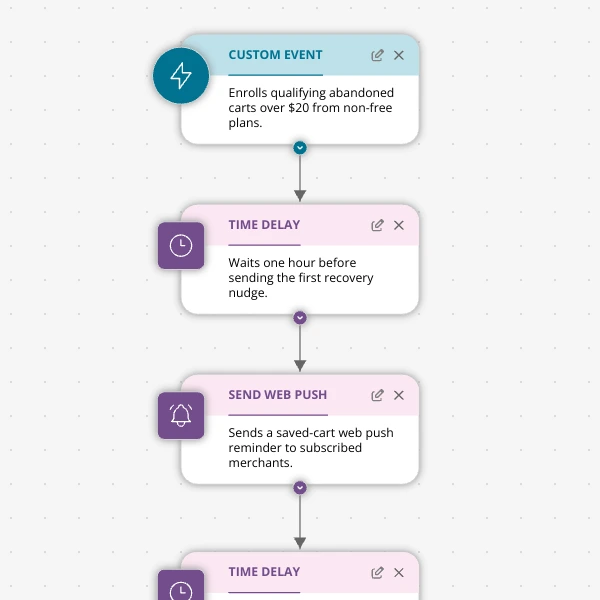
Stop Letting High‑Intent Carts Die: A 3‑Email Recovery Journey for Shopify Apps
A detailed, node-by-node walkthrough of a three-email (plus optional web push) cart-abandonment recovery journey for Shopify apps in Spreeflo, showing how to trigger events, branch on behavior, tag outcomes, and measure recovered carts and revenue.
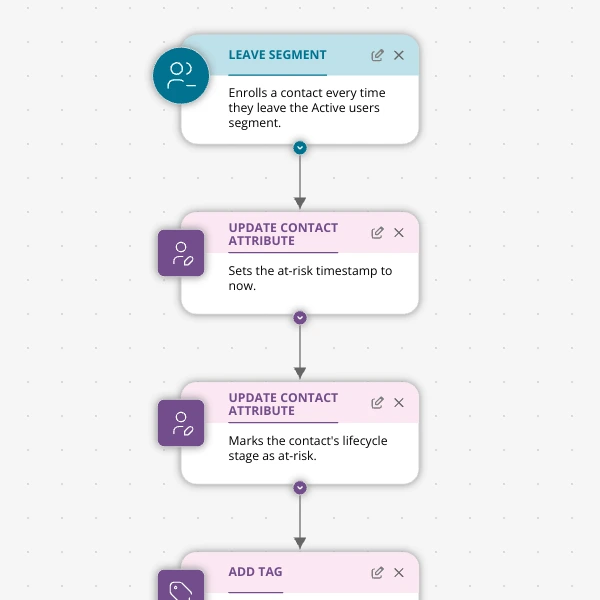
When Active Users Go Dark: A 4‑Touch Win‑Back Journey For Your Shopify App
A detailed, node-by-node Spreeflo journey for winning back previously active Shopify app users who stop engaging, using segment-based triggers, conditional logic, and a four-touch email plus internal alert sequence to recover usage and MRR.