Stop Onboarding Everyone the Same: Industry-Specific Paths for Your SEO SaaS
This playbook shows how an SEO SaaS like RankPilot can build an industry-specific onboarding journey in Spreeflo, using one trigger and multi-way splits to tailor activation emails, events, and metrics for agencies, in-house teams, and solo users.
Industry
Niche
Pattern
Loading sequence...
The average SEO SaaS has better segmentation for Google than for its own customers. Your app knows the difference between a local dentist and a DTC brand in the SERPs, but your onboarding emails talk to both as if they were the same.
For a rank tracker or content-brief tool, that’s a quiet conversion killer. Agencies, in-house teams, and solo consultants churn for different reasons. If your first-week experience doesn’t meet those reasons head-on, they slip away.
The sequence at the top of this page is the whole journey, end to end: one welcome flow that automatically forks by industry so each segment sees its own use cases, case studies, and activation nudges.
In this playbook, we’ll build that journey for a fictional SEO SaaS, “RankPilot” — a $60k MRR tool that offers rank tracking, content briefs, and technical audits — and show how to adapt it in Spreeflo.
Why “one-size-fits-all” onboarding underperforms
At RankPilot, three groups sign up:
SEO agencies managing dozens of client sites
In-house marketers reporting to a CMO or founder
Solo consultants and indie creators trying to get more traffic with minimal time
They all click the same “Start free trial” button. But what happens next is very different:
Agencies care about multi-site workflows, white-label reports, and “don’t make me switch my clients again.”
In-house marketers care about connecting to existing analytics, reporting wins, and proving ROI quickly.
Solos care about “what should I do this week?” and easy wins they can execute themselves.
If everyone gets the same generic onboarding — “here’s how to add a project, here’s how to create a brief” — you’re effectively betting your activation rate on the average user. That’s rarely your best customer.
Industry is one of the cleanest, highest-signal attributes you can capture at signup. This journey turns that single field into three different onboarding paths, without tripling your workload.
The journey in one view
Before we zoom into the nodes, here’s what the journey you see above does:
New contact enters via the Add to Audience trigger.
We quickly check whether they’re actually allowed to receive marketing email.
Everyone gets a short “Day 0” welcome email focused on the first in-app action.
A Multi-way Split routes each contact into one of four paths based on their
industryattribute:\n- Agency\n- In-house / brand\n- Solo / freelancer\n- Unknown / otherEach path gets its own two‑ or three‑email sequence, with Time Delay and Wait Condition nodes controlling pacing and skipping emails once they’ve activated.
Check Email Activity and tagging at the end give you per‑industry metrics on case-study engagement and activation.
Now let’s build it in Spreeflo.
Step 1: Capture industry cleanly at signup
Everything else depends on having a reliable industry attribute.
For RankPilot, that’s a simple dropdown with three options plus “Other.” The key is to collect it in a way that feeds directly into Spreeflo’s audience, not into some random column in your app database that never makes it to your marketing stack.
The easiest path: make your trial / waitlist / lead form a Spreeflo form.
Build a form with Email (required) and an “Industry” dropdown question.
Turn on Map to contacts so every submission creates or updates a contact.
Map the Industry question to a custom contact attribute like
industry.Embed it on your marketing site using the inline embed snippet described in the doc on how to create and embed forms.
Every submission is now a contact with industry set from moment zero. That means the Add to Audience trigger can treat “new contact added” as “new signup we know the industry for.”
Already have an app signup you don’t want to replace? Keep it — but embed a short Spreeflo popup form inside the product (using the Popup Form action on the Professional plan) that only shows to new users whose industry is blank. It’s a one-time, one-question ask that fills the same attribute.
Either way, the outcome is the same: a fresh contact in Spreeflo with an industry attribute you can trust.
Step 2: Trigger the journey when a new contact appears
Create a new journey in Spreeflo (journeys, not campaigns, because this should run continuously for new signups — if you’re fuzzy on the distinction, the overview on campaigns and journeys is worth a skim).
Start with an Add to Audience trigger:
Trigger: Add to Audience
Re-enrollment: off (you want this onboarding to run once per contact, even if they’re re-imported later)
Immediately after the trigger, add an If/Else process node to avoid mailing contacts who aren’t subscribed:
Condition: Email Subscription Status is Subscribed
The “yes” branch continues into onboarding. The “else” branch can simply:
Add a tag like
onboarding_skipped_unsubscribedwith an Add Tag action, thenEnd the path
That keeps your messaging compliant and your metrics clean.
Step 3: Send a universal “Day 0” welcome
From the “Subscribed” branch, add a short Time Delay:
Time Delay: 1 hour
That hour gives people room to click around your app without immediately being hit with an email.
Then attach your first Send Email action. This is the only email in the flow that’s identical for everyone.
Use it to:
Reassure them they’re in the right place
Show the simplest possible path to first value (e.g., “connect your site and add your first keyword”)
Set expectations for what the next few days of email will look like
Inside the Send Email node, pick a saved template or build a new one in our email builder. If you’re using the Professional plan, you can also personalize with AI variables to let Spreeflo draft subject lines and body copy tailored to the contact’s role or plan.
After this welcome email, add another Time Delay:
Time Delay: 1 day
That separation keeps you from dropping industry-specific content immediately on top of the welcome.
Step 4: Split the journey by industry with Multi-way Split
Now add the heart of this pattern: a Multi-way Split process node configured on the industry contact attribute.
Each branch condition uses Spreeflo’s segment builder under the hood. You could build the logic as saved segments first and reuse them later, or define the conditions inline. Either way, the filters look like this in Spreeflo’s segment builder:
Branch: Agency\n- Condition group: Contact Attributes →
industryisAgencyBranch: In-house / Brand\n- Condition group: Contact Attributes →
industryisIn-houseBranch: Solo / Freelancer\n- Condition group: Contact Attributes →
industryisSoloElse branch: everyone who doesn’t match the above (unknown, other, data missing)
Order matters in Multi-way Split. Put your three explicit branches first, and use the default else branch as the catch-all.
From this point, each path becomes its own mini-onboarding.
Step 5: Build the agency onboarding path
On the Agency branch, add:
Time Delay: 1 day
Send Email: “How agencies get the most out of RankPilot”
That email should speak their language:
Managing dozens of domains from one place
Client-ready reporting templates
Alerting that lets them look proactive with clients
Include one clear primary CTA — for example, “Connect your first client site” that drops them into your “add project” flow.
After this email, insert a Time Delay of 2 days, then a Wait Condition:
Wait Condition: up to 3 days
Condition: Custom Events → event
added_first_projecttriggered at least 1 time in the last 3 daysThis Wait Condition uses the same engine as segments. The condition could be:
type:
custom_eventoperator:
AT_LEAST1time window:
in_the_last3 days
You’d track added_first_project from your frontend via the Spreeflo SDK (for example, calling Spreeflo.track('added_first_project', { project_type: 'client' }) when they complete your “add site” wizard), or from your backend through the Spreeflo API.
Two outcomes:
If they add a project within 3 days, they flow forward as “activated agencies.”
If the timeout expires with no event, they move to a gentle nudge.
On timeout, add:
Send Email (after that Wait Condition): “Agency quickstart: set up your first client in 10 minutes”
Then an Add Tag action: apply a tag like
agency_needs_help
That tag is handy later when you build support or sales follow-ups.
To keep pacing clean, make sure there’s always a Time Delay or Wait Condition between each pair of Send Email nodes on this path. The pattern above respects that: Email → Delay → Wait → Email.
Step 6: Tailor the in-house and solo paths
Repeat the same structure for the other branches, but with different content and activation events.
In-house / brand branch
Key value props:
Proving wins to non-technical stakeholders
Monitoring keywords tied to revenue pages
Integrations with Google Search Console and analytics
Flow:
Time Delay: 1 day
Send Email: “How in-house teams use RankPilot to win budget”\n- CTA: “Connect your site and import your existing keyword list.”
Time Delay: 2 days
Wait Condition:\n- Condition: Custom Events →
connected_search_consoletriggered at least 1 time in the last 3 daysOn success (they connected GSC): Add Tag →
inhouse_activatedand optionally end the branch.On timeout: one more Send Email with a different angle (“No more manual SERP screenshots”) and a clear, simple CTA to connect.
Solo / freelancer branch
Key value props:
Saving time
Clear weekly action lists
Avoiding “SEO rabbit hole” overwhelm
Flow:
Time Delay: 1 day
Send Email: “Your first 7 days with RankPilot (for solo SEOs)”\n- CTA: “Add your first 10 keywords and we’ll guide your next steps.”
Time Delay: 2 days
Wait Condition:\n- Condition: Custom Events →
added_first_keywordtriggered at least 1 time in the last 3 daysIf activated, Tag:
solo_activated.If not, a final nudge email with a tiny commitment (“Track just 3 keywords to start”).
Because you’re using the same node types (Time Delay, Send Email, Wait Condition, Add Tag) across all three branches, the complexity cost stays low even as the messaging becomes highly specific.
Step 7: Deal intelligently with “Unknown / Other”
Not everyone will pick a neat industry label, and some will come in through imports or older forms without that field.
On the else branch from the Multi-way Split:
Add a Time Delay: 1 day
If you’re on the Professional plan and have the SDK installed, consider a Popup Form action:\n- Target: all pages inside your app\n- Frequency cap: low (for example, at most once per day, up to three attempts)\n- Form: a tiny form with just “Which of these best describes you?” mapped to the same
industryattribute
Because this form is shown in-app via the SDK, there’s no need to ask for email again. The contact is already identified; their answer maps directly onto their contact record.
Once they submit, future journeys — including a revised version of this onboarding — can rely on that attribute just like the other branches.
If you can’t use popups yet, keep the “Unknown” emails more general, but still focused on quick wins. Also consider adding a segment of industry is blank and deliberately improving collection over time.
Step 8: Check case-study engagement with Check Email Activity
The pattern definition called out “industry-relevant case-study CTR” as a key metric. Let’s wire that in without more manual reporting.
On each branch, pick the single email that features your strongest case study. For that email:
After it sends, insert a Time Delay of 2–3 days.
Add a Check Email Activity process node that points at that specific email template.
Configure branches for at least:\n- Clicked\n- Opened but not clicked\n- Not opened
For example:
Branch “Clicked”: Link Clicked
Branch “OpenedOnly”: Opened
Else: everyone else
From there:
On “Clicked”: Add Tag
agency_case_study_clicked,inhouse_case_study_clicked, orsolo_case_study_clicked. You can also skip any further nudges; they’ve shown intent.On “OpenedOnly”: consider a short follow-up email after another Time Delay that frames the case study differently (“Here’s the exact workflow ACME agency used inside RankPilot”).
On the else branch: maybe nothing — or a single “Is this still relevant?” check-in if they haven’t activated.
Because Check Email Activity branches on past behavior without sending a new email itself, it fits cleanly into your pacing rules.
Step 9: Turn paths into permanent audience slices
By the time someone exits this journey, you know:
Their industry (
industryattribute)Whether they hit your activation event
Whether they clicked the most relevant case study
Use Add Tag and Update Contact Attribute nodes near the end of each branch to store a simple summary, for example:
onboarding_path = agencyonboarding_status = activatedorneeds_help
Those attributes, plus engagement tags, become building blocks across the rest of your account. You can target “agencies who activated but haven’t upgraded” with one campaign and “solo users who never activated” with a different one, using Spreeflo’s audiences and segments to define each group.
On the analytics side, build one segment per industry that captures:
industryequals XCustom event
activation_eventtriggered at least 1 time in the last N daysContact Added Date within a specific cohort window
Compare counts between cohorts with and without this journey running. That’s your industry-specific activation rate lift — the number that justifies the time you put into this build.
With web tracking and analytics in place, you can also see whether these activated users behave differently on-site: more pricing-page visits, more repeat sessions, deeper feature usage.
The deeper win: one attribute, many unique conversations
This entire pattern hangs off one decision: take “Industry” seriously as a first-class attribute, then treat it as your main fork in onboarding.
Once you do that, you’re no longer onboarding “a trial user.” You’re onboarding:
An agency worried about churning their own clients
An in-house marketer who has to justify your tool to their boss
A solo consultant juggling five other jobs
Spreeflo’s job is to let you capture that detail once and then speak to each of them uniquely, without exploding your workload. A single Add to Audience trigger, one Multi-way Split, and a handful of shared node types is enough to run three different onboarding experiences in parallel.
For a small SEO SaaS team, that’s the kind of system that quietly compounds. You build it once, keep an eye on the metrics, and let it keep talking to each new signup the way they actually see themselves.
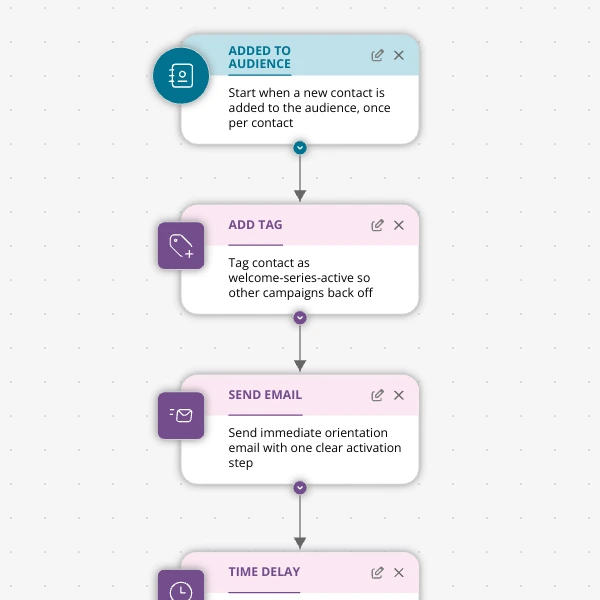
The Shopify app welcome series that turns installs into income
A step-by-step Shopify app welcome email journey for tools like CartSpark, showing how to turn new installs into activated, retained merchants using Spreeflo journeys, tags, and behavioral triggers so fewer trials quietly churn and more trials convert.
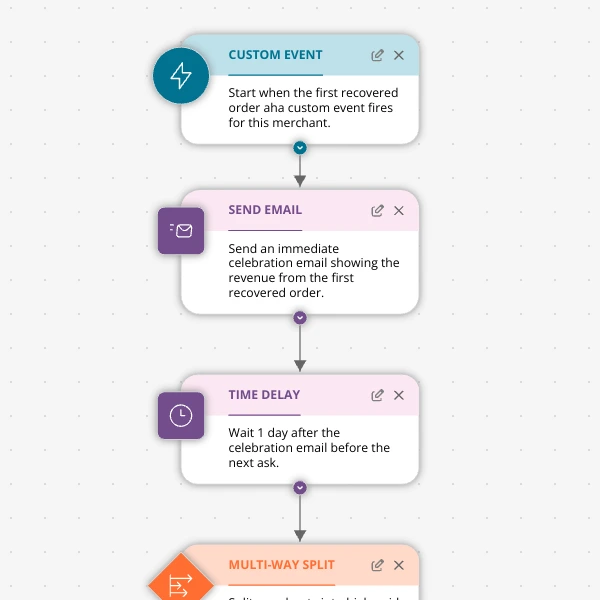
The Aha-Moment Playbook For Shopify Apps: Turn One Magic Action Into Months Of Revenue
A node-by-node playbook for Shopify and e‑commerce apps to center their lifecycle on one aha-moment custom event in Spreeflo, celebrate it, segment merchants by profile and engagement, and turn first recovered value into lasting revenue and retention.
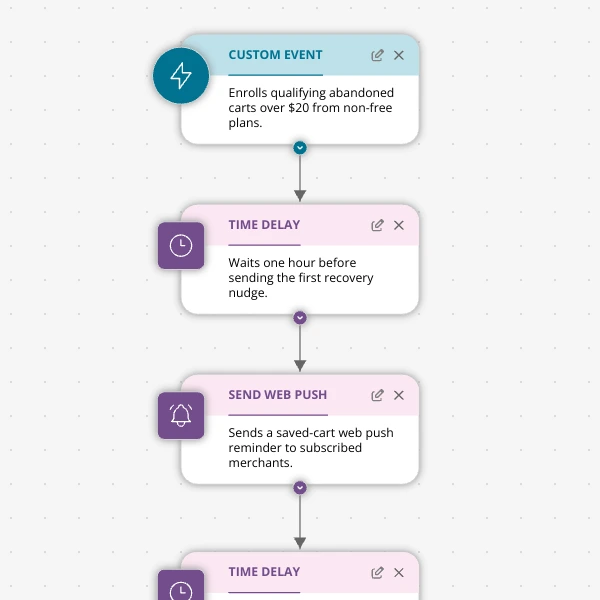
Stop Letting High‑Intent Carts Die: A 3‑Email Recovery Journey for Shopify Apps
A detailed, node-by-node walkthrough of a three-email (plus optional web push) cart-abandonment recovery journey for Shopify apps in Spreeflo, showing how to trigger events, branch on behavior, tag outcomes, and measure recovered carts and revenue.
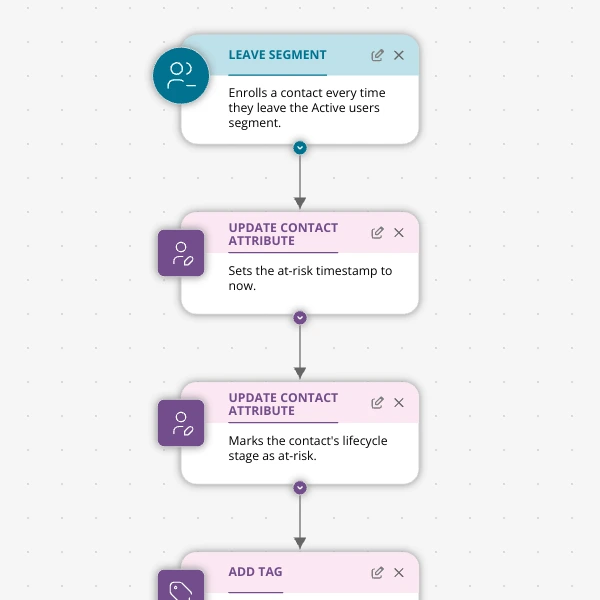
When Active Users Go Dark: A 4‑Touch Win‑Back Journey For Your Shopify App
A detailed, node-by-node Spreeflo journey for winning back previously active Shopify app users who stop engaging, using segment-based triggers, conditional logic, and a four-touch email plus internal alert sequence to recover usage and MRR.