The 10‑Second Survey That Fixes Your Shopify App Onboarding
A step-by-step playbook for using a 10-second in-app survey and branching journeys in Spreeflo to personalize Shopify app onboarding, drive faster activation, and turn every new install into a goal-driven contact.
Industry
Niche
Pattern
Loading sequence...
Two merchants install your app on the same day. One wants to grow average order value with smarter upsells. The other cares only about repeat purchases. You send them the same “welcome to our app” sequence… and wonder why activation is stuck at 15%.
This playbook fixes that with a tiny in‑app survey and a branching journey that treats every install differently. The sequence at the top of this page is the whole journey, end to end.
We’ll walk through how a fictional Shopify app, CartWizard, uses a single question to route merchants into different onboarding tracks inside Spreeflo — and how you can adapt the same pattern for your own app.
Why one micro‑survey beats a long generic funnel
Most Shopify / e‑commerce apps are used for at least three distinct jobs:
Recovering abandoned carts
Increasing AOV with upsells and bundles
Driving repeat purchases or subscriptions
When you jam all three into a single onboarding flow, nobody feels like you’re speaking to them. You see:
Low response to onboarding emails
Weak feature adoption (the wrong stuff is being pitched)
Churn from stores that never reach their specific “aha” moment
Instead of guessing which job a new merchant is hiring you for, you ask them. Then you send a different “next touch” based on their answer.
That’s all this pattern is: a behavioral trigger, a micro‑survey shown in‑app, and a branching journey where each answer becomes a tag or contact attribute that drives the next email.
The journey, at a glance
Here’s what CartWizard’s flow does:
Backend receives an
app_installedwebhook and forwards it to the Spreeflo events API as a custom event.A Custom Event trigger starts the journey when that install event arrives.
After a short Time Delay, a Send Email node fires a brief welcome email that promises “we’ll set this up around your goal.”
Next, a Popup Form action shows a 10‑second, one‑question survey inside the app’s dashboard when the merchant next logs in.
After a couple of days, a Check Form Activity node branches:
- Submitted the survey → go down the “answered” path.
- Didn’t submit → go down the “no answer” path.On the answered path, a Multi‑way Split looks at the answer (mapped to a contact attribute) and routes into one of three tailored onboarding emails.
On the no‑answer path, a different Send Email gives a default “best practice” setup and a softer nudge to answer later.
Everything else is glue: a few delays, optional tags, and some metrics tracking.
Let’s go step by step.
Step 1: Use a Custom Event trigger for “app installed”
For e‑commerce apps, the clean behavioral entry point is your install (or activation) event.
Implementation-wise:
When Shopify (or your platform) hits your backend with an install webhook, your server POSTs to the Spreeflo events API with an event like
app_installedand the merchant’s email in the payload.Spreeflo turns that payload into a tracked custom event tied to the contact.
In your journey, you add a Custom Event trigger configured as:
Event name:
app_installed(or whatever you’re sending)Property conditions: optional — for example, only merchants on a paid plan
Re‑enrollment: usually on, so if someone uninstalls and reinstalls months later, they can go through onboarding again
This keeps the journey clearly behavioral: anyone who installs enters, without you manually importing lists or tagging contacts first. If you’re not familiar with how journeys work in Spreeflo, the overview of campaign and journey automation is worth a skim before you build.
Step 2: Add a short delay, then a welcome email that “sells” the survey
Right after install, most merchants are poking around your UI, connecting integrations, or half‑distracted by orders. Firing an email the second the webhook lands is easy to ignore.
So the first node after your trigger is a Time Delay:
Delay: 1 hour
Unit: Hours
This gives them a little breathing room before you show up in the inbox.
Next is your first Send Email node. This is the only truly generic message in the flow, and its job is simple:
Welcome them
Set expectations
Tease that you’ll customize everything around their goal
Inside Spreeflo, you build this in the email builder. Keep it tight:
Subject: “Quick setup question for CartWizard?”
Body: a short welcome, three bullet points on outcomes you help with, and a simple line like:
“Tomorrow when you open CartWizard, we’ll ask one question so we can tailor the setup around your store. It takes 10 seconds.”
This email doesn’t try to collect the answer. It primes them to respond to the in‑app question instead, where Spreeflo can tie their response to the contact record automatically.
Because of the delay, this is never back‑to‑back with any other email in the journey, so you stay well away from spammy territory.
Step 3: Ask the question in‑app with a Popup Form
Now the core move: you show a one‑question survey directly inside your app while the merchant is already thinking about setup.
In Spreeflo, that’s:
Create a form in the Forms builder:
- One Multiple Choice question:
“What’s your primary goal with CartWizard right now?”
Options like “Recover abandoned carts”, “Increase average order value”, “Boost repeat purchases”.
- Turn on Map to contacts.
- Map that question to a custom contact attribute, e.g.primary_goal.Make sure your app frontend calls
Spreeflo.identifywith the merchant’s email when they’re logged in. That ties the browser session to the same contact the install event created.Add a Popup Form action node to the journey right after the welcome email.
Configure the Popup Form action roughly like:
Form: your “Primary Goal” micro‑survey
Popup embed: a Popup or Slider that feels native to your app UI
Show on: URLs that match your app’s main dashboard or “Getting Started” page
Attempt window: for example, 7 days
Frequency cap: 1 per merchant (you don’t want to nag them every page view)
The result: the next time that merchant opens your app within the attempt window, Spreeflo’s SDK shows the micro‑survey. When they answer, it:
Updates the
primary_goalattribute on their contactLogs the submission in the form’s Results
Registers “form submitted” for journey logic later
No emails, no extra logins, no copy‑pasted embed code. The survey lives where the context is: inside your product. If you haven’t used forms with Spreeflo before, the guide on how to create and embed forms walks through Map to contacts and question mapping in more depth.
Step 4: Branch first on “answered vs not answered”
Some merchants will submit that survey the first time they see it. Some will dismiss it and dive into setup. Some won’t come back within your trial window at all.
Your journey needs to treat those cases differently.
After the Popup Form node, CartWizard adds:
A Time Delay of 2 days
A Check Form Activity process node
The Check Form Activity is configured with:
Form: the same micro‑survey form
Branches:
-submitted→ Form activity: Submitted
-unsubmitted→ Form activity: Not Submitted
That gives you two paths:
Answered path: you can safely assume
primary_goalis set.Unanswered path: you shouldn’t rely on that attribute; you also don’t want to keep flashing the popup forever.
The 2‑day delay serves two purposes:
It creates a reasonable window for merchants to see the popup and answer while they’re still in the install honeymoon phase.
It guarantees spacing: the next email you send (on either branch) won’t land until at least two days after the welcome email.
On the unsubmitted path, CartWizard drops in a second Send Email:
Subject: “Here’s the fastest way to see value from CartWizard”
Body: a default “best practice” setup covering their most common successful path (for many apps, that’s abandoned cart recovery), and a soft text link like “Tell us your goal here” pointing back into the app.
You’re no longer waiting for perfect data. You’re giving them a clear next step and one more opportunity to answer.
Step 5: Branch the answered path by the actual goal
The answered branch is where the magic happens.
Right after the submitted branch of Check Form Activity, CartWizard adds a Multi‑way Split process node. Each branch condition uses the same custom attribute:
Branch A:
primary_goal is "Recover abandoned carts"Branch B:
primary_goal is "Increase average order value"Branch C:
primary_goal is "Boost repeat purchases"Else: everyone else (including any future answers you might add later)
Under the hood, those conditions are defined with Spreeflo’s segment builder: a simple “Contact attribute primary_goal is X” rule per branch.
Each branch then has its own Send Email node with content tuned to that outcome:
Cart recovery branch:
- “Set up your first recovery flow in 5 minutes”
- Screenshots and GIFs focused purely on cart recovery
- One CTA: “Create your recovery campaign”AOV branch:
- “Turn your bestsellers into smart upsells”
- Examples of post‑purchase or in‑cart upsell configurations
- CTA: “Add your first upsell”Repeat purchase branch:
- “Bring first‑time buyers back for a second order”
- Playbooks around replenishment sequences or loyalty nudges
- CTA: “Connect your post‑purchase email flow”
Because of the earlier 2‑day delay, these emails can sit immediately after the Multi‑way Split without adding extra spacing nodes: they will still only arrive after a healthy gap from the welcome email.
Optionally, you can also:
Use an Add Tag action before the email in each branch (
goal_cart_recovery,goal_aov, etc.) to simplify future segmentation.Pull the
primary_goalattribute directly into your copy with AI variables, so subject lines or first sentences reflect the goal in the merchant’s own words. The guide on personalizing with AI variables shows how to do that inside email templates.
At this point, you’ve turned a single click on a multiple‑choice question into three distinct onboarding tracks — without any extra manual work per merchant.
Step 6: Decide how far each branch goes
From here, you can extend each branch into a mini‑onboarding sequence:
A second email after 3–4 days with more advanced tactics for that goal
A Wait Condition that gives them time to hit a key feature event (e.g.
feature_used = first_recovery_flow_sent) before deciding whether to send a nudgeA Send Internal Email to your team for very high‑value stores that still haven’t activated after tailored onboarding
The only hard rules to keep in mind:
Don’t chain Send Email nodes directly one after another on any path. Always keep at least one Time Delay or Wait Condition between.
Keep the content on each branch ruthlessly focused on the outcome they picked. If you try to sneak in other features “because you’re already emailing them”, you dilute the value of having asked at all.
Remember: the point of the micro‑survey is to give you permission to ignore 80% of what your app can do and focus on the 20% that matches the job they care about most.
Instrumentation details and edge cases
A few practical notes that matter for a dev‑heavy audience:
Backend events vs SDK tracking: install, uninstall, upgrade, and similar platform webhooks should be forwarded to the Spreeflo API from your backend, not tracked with the JS SDK. The Spreeflo API documentation has the exact event payload shape.
In‑app identification: the Popup Form and form submission mapping only work correctly if your app frontend calls
Spreeflo.identify(email, {...})once the merchant is known. That’s what ties survey answers, web visits, and email engagement to the same contact.Re‑installs: if your app sees a lot of uninstall/reinstall behavior, keep
isReEnrollmenton for the Custom Event trigger so they can re‑enter this journey after a newapp_installedevent, but know that a merchant already mid‑journey won’t get enrolled twice in parallel.Multiple contacts per store: if you work with team accounts, decide whose email you use for onboarding. Often, that’s the person who installed the app; you can expand to more contacts later.
None of this is rocket science, but getting it right once means every new merchant gets the correct track forever. That’s the leverage small teams live on.
What to measure and how to iterate
Two core metrics matter here:
Survey completion rate
The lift you get from response‑driven personalization
For completion:
Look at form submissions divided by installs that reached the Popup Form step.
If it’s under, say, 30–40%, tweak:
- Where the popup appears (too deep in the app?)
- The copy (“help us help you” usually beats “take our survey”)
- The number of questions (start with one, only add a second if you’re genuinely using it)
For lift:
Compare activation rates (or your internal “aha” event) between:
- Merchants who answered and got a tailored email
- Merchants who didn’t answer and got the default path
If you want a true A/B read, you can insert a Random Split right after the Custom Event trigger and send a percentage of installs through a control journey without the survey at all. That gives you a clean sense of how much this pattern is moving the needle, beyond just email opens or clicks.
Because journeys in Spreeflo run continuously, you don’t have to rebuild anything when you iterate. You update the form question, tweak branch copy, or adjust delays, and every new install goes through the improved version. That’s where building journeys pays off in compounding improvements instead of one‑off campaigns.
The bigger point: learn once, speak uniquely forever
The real win here isn’t that a particular email gets a higher click‑through rate. It’s that you’re turning a generic “new install” into a contact with a known, durable attribute: their primary goal.
From that moment on, every campaign — product launch, feature announcement, retention play — can be filtered or personalized around that attribute. You’re capturing detail on every customer so you can speak to each uniquely, which is exactly where founder‑led SaaS businesses win.
And the work is front‑loaded. You design the survey once, wire the journey once, and then let it run while you focus on shipping your app.
If you’re already sending a generic onboarding sequence to every new merchant, you have everything you need to try this: one custom event, one popup form, and one branching journey. The difference in how your emails land — and how your installs convert — is usually obvious within a couple of weeks.
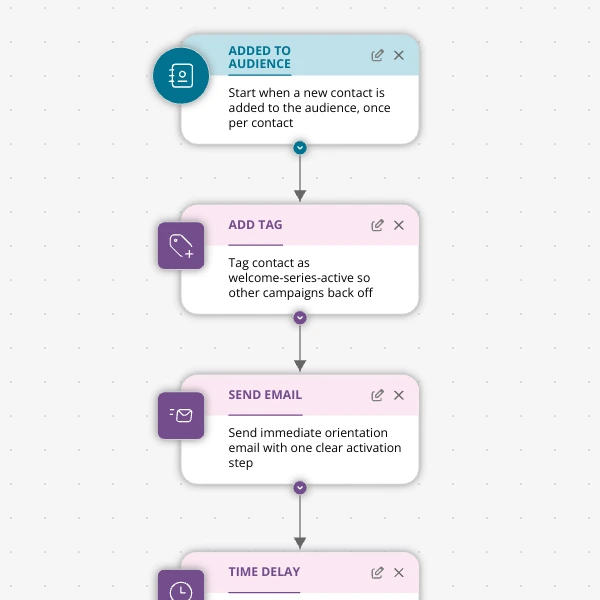
The Shopify app welcome series that turns installs into income
A step-by-step Shopify app welcome email journey for tools like CartSpark, showing how to turn new installs into activated, retained merchants using Spreeflo journeys, tags, and behavioral triggers so fewer trials quietly churn and more trials convert.
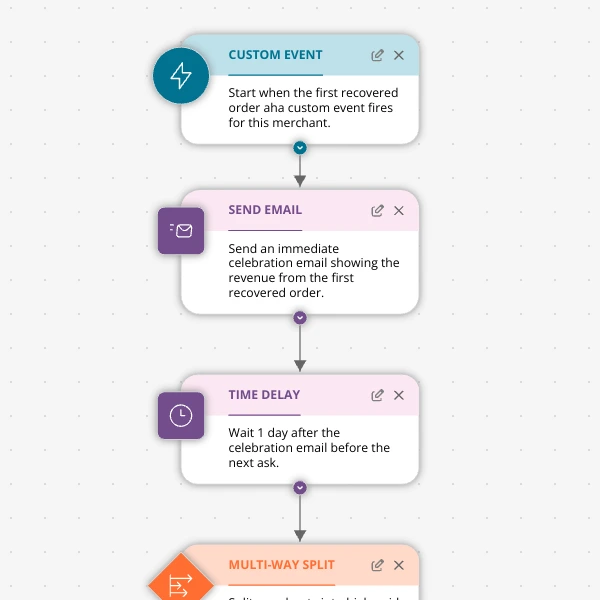
The Aha-Moment Playbook For Shopify Apps: Turn One Magic Action Into Months Of Revenue
A node-by-node playbook for Shopify and e‑commerce apps to center their lifecycle on one aha-moment custom event in Spreeflo, celebrate it, segment merchants by profile and engagement, and turn first recovered value into lasting revenue and retention.
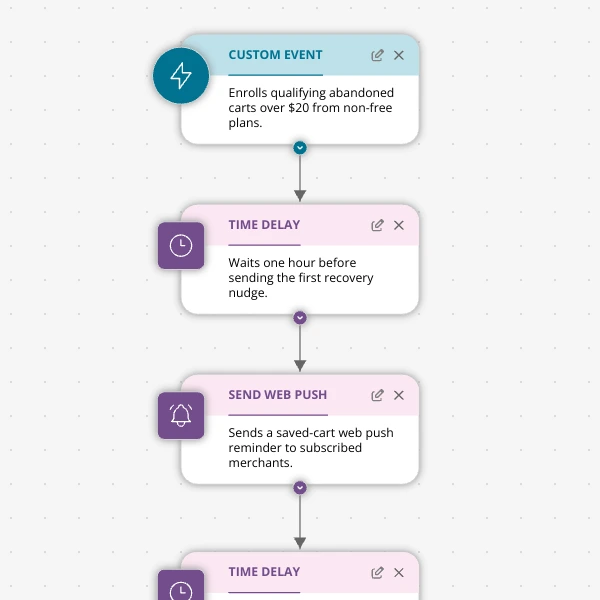
Stop Letting High‑Intent Carts Die: A 3‑Email Recovery Journey for Shopify Apps
A detailed, node-by-node walkthrough of a three-email (plus optional web push) cart-abandonment recovery journey for Shopify apps in Spreeflo, showing how to trigger events, branch on behavior, tag outcomes, and measure recovered carts and revenue.
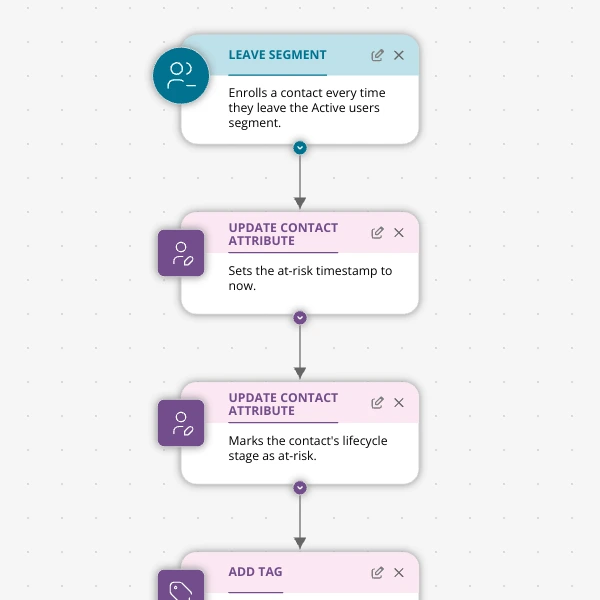
When Active Users Go Dark: A 4‑Touch Win‑Back Journey For Your Shopify App
A detailed, node-by-node Spreeflo journey for winning back previously active Shopify app users who stop engaging, using segment-based triggers, conditional logic, and a four-touch email plus internal alert sequence to recover usage and MRR.