The SEO SaaS Post‑Purchase Journey That Quietly Grows AOV
A detailed Spreeflo automation playbook for SEO SaaS products that turns a simple purchase event into a behavior‑driven post‑purchase journey, driving faster activation, smart cross‑sells, higher average order value, and lower churn with minimal extra headcount.
Industry
Niche
Pattern
Loading sequence...
A lot of SEO SaaS founders obsess over trial activation and forget the moment that has the most goodwill baked in: right after someone pays you.
They get an invoice email from Stripe, maybe a generic “welcome aboard” message, then… nothing. No expectation setting, no guided next step, no smart nudge toward the add‑on that would genuinely help them ship better SEO results.
That gap is where you’re leaking lifetime value.
The sequence at the top of this page is the whole journey, end to end. In this article, we’ll walk through how to wire it in Spreeflo so every new purchase gets a thank‑you, a quick push to first value, and then a well‑timed cross‑sell that feels helpful, not pushy.
We’ll use a fictional SEO SaaS, “BrieflyRank”, which sells three modules: Rank Tracker, Content Briefs, and Site Audit. They’re doing ~$60k MRR and want more expansion revenue without adding headcount.
Why post‑purchase is where SEO SaaS leaks revenue
For a tool like BrieflyRank, most people buy on intent, not impulse:
An agency needs better rank tracking for client reports.
An in‑house marketer needs faster content briefs.
A consultant wants cleaner technical audits for pitches.
They’ve fought through friction, put in their card, and are now expecting you to guide them. Instead, many tools:
Send a receipt and a “you’re in” email.
Drop the customer into a generic newsletter stream.
Never ask them to add a complementary module while they’re still paying attention.
Four weeks later, they may still be under‑using the product. Cross‑sell feels like an afterthought. Churn risk creeps up.
This journey fixes that: one behavior‑driven flow that thanks them, sets expectations, waits for activation, then offers the right complementary product at the right moment.
Under the hood, it uses a Custom Event trigger, a couple of decision nodes, and a short email sequence built in Spreeflo’s campaigns and journeys.
Step 1: Fire a clean purchase event into Spreeflo
Everything starts with a reliable “they bought” signal.
For SEO SaaS, the purchase usually happens on your backend when Stripe (or Paddle, Chargebee, etc.) sends a webhook. That backend job should send an HTTP POST to the Spreeflo events API with an event like:
event: \"plan_purchased\"email: \"user@example.com\"properties.plan_type: \"rank_tracker\"or\"content_briefs\"or\"site_audit\"properties.is_first_purchase: truefor the first time they become a paying customer
You’ll find the exact shape in the Spreeflo API docs. The important part for this journey is that every successful purchase creates a plan_purchased event against a known contact.
In the journey canvas, that maps to:
Node 1 — Trigger: Custom Event
Type:
Custom EventEvent name:
plan_purchasedAdd property conditions: on
- Propertyis_first_purchaseis true
(so upgrades and renewals don’t re‑trigger this specific journey)Re‑enrollment: off
They should only ever see this “new customer” sequence once in their lifetime.
Why this matters: You’re not guessing based on “joined audience” or “imported contact.” You’re responding to the exact backend event that proves they’ve paid.
Step 2: Tag them once, for future journeys
Before you send anything, stamp the contact so other automations can treat them as a paying customer.
Node 2 — Action: Add Tag
Tags:
customer,post_purchase_welcomeForce tag trigger: off (you don’t need to re‑trigger any tag‑based journeys here)
This sounds minor, but it’s how you avoid “trial reminder” journeys emailing paying customers later. Those tags also become useful criteria in the segment builder for future campaigns.
Step 3: Delay slightly, then send the “real” thank‑you
Most billing systems already send a receipt immediately. If you pile another email on top of that, it looks robotic.
Instead, wait an hour, then send a more human thank‑you that frames the relationship and sets expectations.
Node 3 — Action: Time Delay
Unit: hour
Count: 1
Node 4 — Action: Send Email (Thank‑you & expectations)
Content: Built with Spreeflo’s email builder
Send only once: on
What goes in this email:
A real thank‑you (written like a founder, not legal copy).
Clear expectations:
What they’ll see in the next 7–14 days (alerts, reports, onboarding).
How often you’ll email them.
A single “do this next” CTA:
For Rank Tracker buyers: “Add your first 10 keywords.”
For Content Briefs buyers: “Connect Google Search Console, then generate your first brief.”
For Site Audit buyers: “Run your first site crawl.”
This email doesn’t sell anything else yet. Its job is to move the customer toward first value fast, because cross‑sell only makes sense once they’ve seen a win.
Step 4: Wait for activation, with a safety timeout
Next, you want to cross‑sell only customers who hit an activation milestone. For BrieflyRank, that might be:
added_first_keywordor
connected_gscor
generated_content_brief
These should also be tracked as events via your frontend SDK (Spreeflo.track in the browser) or via the Spreeflo API server‑side, depending on where they occur.
In the journey, you:
Node 5 — Action: Wait Condition
Condition: A Condition Group that says:
Custom Event
added_first_keywordtriggered at least 1 time in the last 14 days
OR Custom Eventgenerated_content_brieftriggered at least 1 time in the last 14 days
OR Custom Eventconnected_gsctriggered at least 1 time in the last 14 daysTimeout: 7 days
Functionally:
If they activate quickly, they move on as soon as one of those events lands.
If they don’t, they sit in this node for up to 7 days, then move on anyway.
This is where Spreeflo’s behavior‑driven automation earns its keep. You’re no longer guessing based on signup date. You’re watching real usage to decide when someone is ready to hear about more.
Step 5: Branch on who actually activated
Right after the Wait Condition, you add a fork.
Node 6 — Process: If/Else
Condition: The same activation logic you used in the Wait Condition (those custom events).
Then branch: “Activated”
Else branch: “Not yet activated”
This gives you two clean paths:
Activated customers: ready for a helpful cross‑sell.
Non‑activated customers: need help getting value before you ask for more money.
We’ll design both.
Step 6: For activated customers, pick the right cross‑sell
On the Activated path, your next question is “Which module did they just buy?”
You don’t want to pitch Rank Tracker to someone who already bought it. The cleanest way to do that is to store a plan_type or primary_module attribute on the contact when you process the purchase. Your backend can do this by calling Spreeflo’s API to update the contact record at the same time it sends the plan_purchased event.
Once that attribute exists, you can branch:
Node 7 — Process: Multi‑way Split
Branch 1:
plan_type is \"rank_tracker\"Branch 2:
plan_type is \"content_briefs\"Branch 3:
plan_type is \"site_audit\"Else branch: everyone else (legacy plans, bundles, unknown values)
Why it matters: You’re about to send a sales email. Being even slightly off on relevance kills your CTR and trains customers to ignore you. Tying branches to plan data means every cross‑sell is a natural extension of what they’re already using.
Step 7: Email 2 — A delayed, contextual cross‑sell
In each plan branch, the pattern is the same:
Add a short delay after activation so they can feel the benefit.
Send a single, tightly targeted cross‑sell email.
Watch how they respond.
For example, in the Rank Tracker branch:
Node 8a — Action: Time Delay
Unit: day
Count: 1
Node 9a — Action: Send Email (Cross‑sell Content Briefs)
Angle: “You’re tracking rankings. Here’s how to decide what to publish next.”
Content:
Reflect what they’ve done: “You’ve already added your first keywords.”
Introduce the complementary module: Content Briefs.
Show 1–2 concrete outcomes: “Turn ranking gaps into a prioritized content pipeline in 10 minutes.”
CTA: “Generate your first brief.”
In the Content Briefs branch, you’d mirror this structure but pitch Rank Tracker. In the Site Audit branch, you might cross‑sell Rank Tracker or Content Briefs based on your economics.
The key: This is not a feature tour. It’s a narrative that starts from what they just achieved in the core product, then shows how the add‑on makes that success easier or bigger.
Because there was both a Wait Condition and a Time Delay between Email 1 and Email 2, you stay within healthy pacing and avoid spammy back‑to‑back sends.
Step 8: Branch again on who engaged with the cross‑sell
A cross‑sell doesn’t end when you click send. You want to treat a customer who clicked very differently from someone who ignored it.
That’s what the next node does:
Node 10a — Action: Time Delay
Unit: day
Count: 3
(Give them a few days to open and click.)
Node 11a — Process: Check Email Activity
Marketing email: the cross‑sell email from Node 9a
Activities:
Branch
clicked: “Link Clicked”Branch
opened_not_clicked: “Opened”
(and not clicked; you can express this with a small nested condition or by excluding clickers later via segment builder)Else branch: “Did nothing”
From here:
Clicked branch
Node 12a — Action: Add Tag
Tags:
cross_sell_interest_content_briefsOptional:
A Webhook action to notify sales or a Slack channel.
A short onboarding‑style journey specifically for new Content Briefs users.
Opened but didn’t click branch
Consider a lighter follow‑up Send Email later in a different journey or campaign: maybe a customer story that shows the module in use.
Did nothing branch
Do nothing now. Don’t chase cold contacts with multiple back‑to‑back sales emails. Instead, use that tag (or lack of it) in future audience segments when you run broader promos.
All of this is still driven by a simple truth: most businesses leave LTV on the table because they don’t nurture engagement. You’re doing the opposite by reacting differently to each customer’s behavior.
Step 9: For non‑activated customers, fix the real problem
Back to the “Not yet activated” branch from Node 6.
These are people who bought but didn’t hit your activation events within 7 days. Cross‑selling them now is a fast path to churn.
Their path is simpler:
Node 8b — Action: Time Delay
Unit: day
Count: 1
(A bit of breathing room after the first email.)
Node 9b — Action: Send Email (Help them activate)
Angle: “Need a hand getting your first win?”
Content:
Acknowledge silently that they might be busy or stuck.
Offer a minimal, clear path:
“Add 5 keywords and we’ll start sending you rank movement.”
“Connect GSC and we’ll suggest 3 pages to improve this week.”
Link to a help doc or loom‑style video.
Invite replies for direct help if that fits your support model.
From here, you can either:
End the journey and let other onboarding flows take over.
Or add another Wait Condition for activation and tag those who still don’t engage for a later “at risk” win‑back sequence.
The important point is that this journey does not push a second product at someone who hasn’t seen value from the first. That’s how you keep trust high and churn lower.
Step 10: Measure what matters and tune
With the structure live, you can track the three metrics that actually make this worth running:
Repeat purchase / expansion rate
- How many customers end up buying the cross‑sold module within 30–60 days?
- You can track this with anotherplan_purchasedevent plus a simple segment builder rule like:
“Tag iscross_sell_interest_content_briefsAND custom eventplan_purchasedhas propertyplan_type=content_briefsat least 1 time in the last 60 days.”Post‑purchase CTR
- Open and click rates on:
- The thank‑you email.
- Each cross‑sell variant.
- Use Check Email Activity nodes or email analytics outside the journey to see which angles are working.AOV uplift and product adoption
- Compare cohorts:
- Customers who went through the journey vs those who signed up before it existed.
- Look at:
- Average number of modules per customer.
- Churn rate for multi‑module vs single‑module accounts.
Because this is all automated in one campaign / journey automation, every improvement you make compounds. You tweak one email or a branch condition once, and every future customer benefits.
Bringing it back to your own stack
The exact event names and modules will differ, but the pattern stays the same:
Trigger on the real purchase event from your backend, not a guess.
Say a thoughtful thank‑you and point to one clear next step.
Wait for proof of activation, then cross‑sell something genuinely complementary.
Treat engaged and unengaged customers differently.
For a small SEO SaaS team, this is the kind of automation that earns its MRR line item. You build it once, wire it into the events you already have, and it quietly grows average order value and reduces churn while you ship features.
That is the advantage founder‑led businesses have: you can decide today that you’re done leaking value after purchase, sketch a journey like the one at the top of this page, and have it live in Spreeflo tomorrow.
From there, every new customer you win is one more chance to deepen the relationship, not just close the sale.
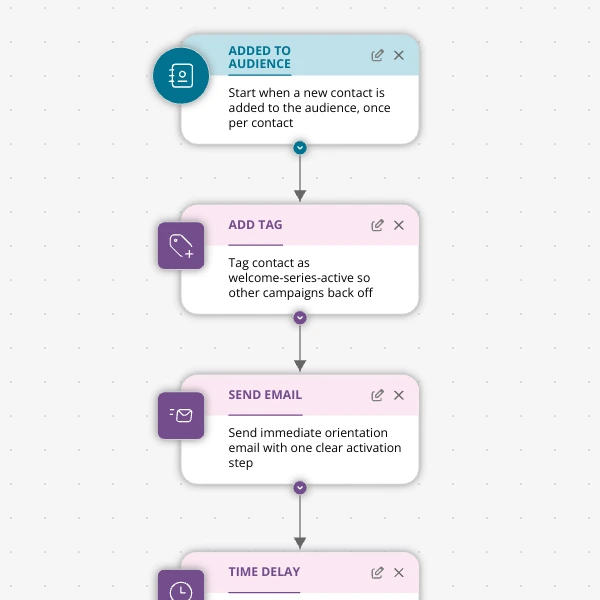
The Shopify app welcome series that turns installs into income
A step-by-step Shopify app welcome email journey for tools like CartSpark, showing how to turn new installs into activated, retained merchants using Spreeflo journeys, tags, and behavioral triggers so fewer trials quietly churn and more trials convert.
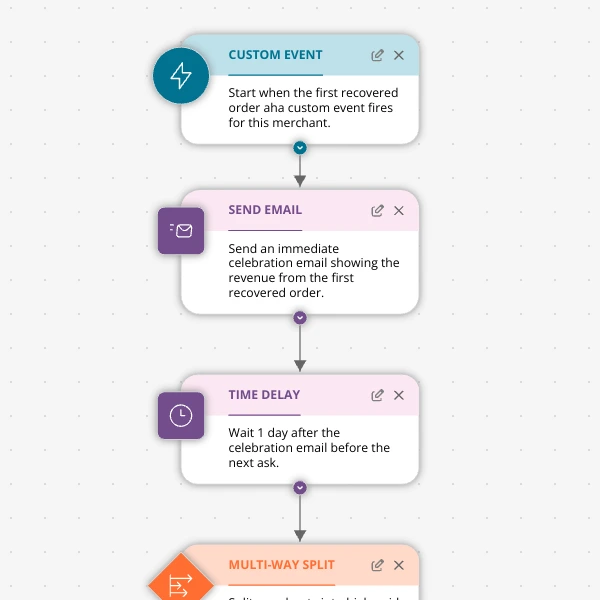
The Aha-Moment Playbook For Shopify Apps: Turn One Magic Action Into Months Of Revenue
A node-by-node playbook for Shopify and e‑commerce apps to center their lifecycle on one aha-moment custom event in Spreeflo, celebrate it, segment merchants by profile and engagement, and turn first recovered value into lasting revenue and retention.
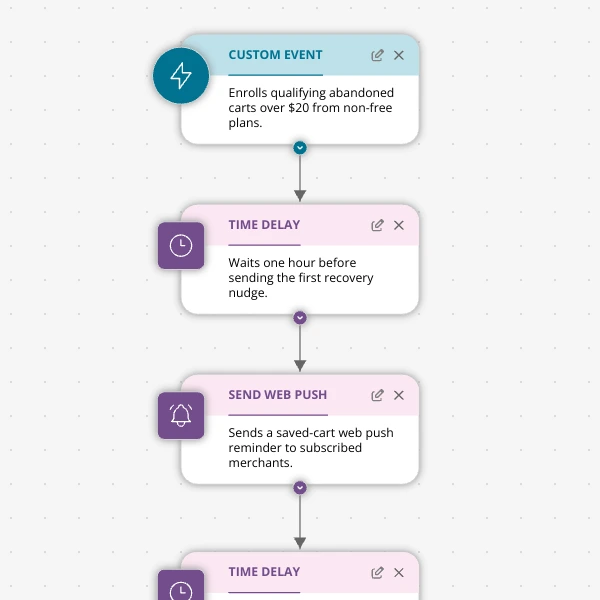
Stop Letting High‑Intent Carts Die: A 3‑Email Recovery Journey for Shopify Apps
A detailed, node-by-node walkthrough of a three-email (plus optional web push) cart-abandonment recovery journey for Shopify apps in Spreeflo, showing how to trigger events, branch on behavior, tag outcomes, and measure recovered carts and revenue.
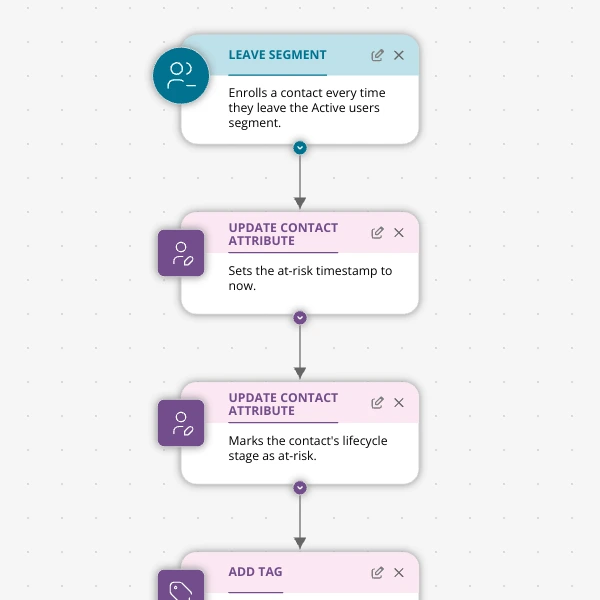
When Active Users Go Dark: A 4‑Touch Win‑Back Journey For Your Shopify App
A detailed, node-by-node Spreeflo journey for winning back previously active Shopify app users who stop engaging, using segment-based triggers, conditional logic, and a four-touch email plus internal alert sequence to recover usage and MRR.