Build an SEO Course Drip That Actually Creates Customers
Walkthrough of a behavior-gated SEO email course built in Spreeflo that turns newsletter subscribers and trials into paying users by using tags, waits, branching, and metrics to pace lessons and drive focused upgrade or demo pitches.
Industry
Niche
Pattern
Loading sequence...
Most SEO SaaS founders eventually try the same play: “7-day SEO crash course,” “Technical SEO in 5 emails,” “Agency onboarding sequence.” People sign up, lesson 1 gets decent opens, and then… engagement falls off a cliff.
The sequence at the top of this page is the whole journey, end to end. In this article we’ll walk through why it’s built the way it is and how to adapt it to your own product.
To make it concrete, imagine RankPulse, a three-person rank tracking SaaS at ~$35k MRR. They built a “5-Day SERP Diagnostics” email course to turn newsletter subscribers and trials into paying users. The first version was a simple time-based drip. It grew the list, but it didn’t move MRR. The fix was to gate each lesson on real engagement and let behavior control pacing.
That’s exactly what this Spreeflo journey does.
Why SEO “courses” usually underperform
Static drips are easy to ship:
Day 0: Welcome
Day 1: Lesson 1
Day 2: Lesson 2
Day 3: Lesson 3
Day 5: Pitch
Everybody gets the same thing on the same timeline. The problems:
You keep emailing people who clearly stopped caring after lesson 1.
Your best leads rush ahead mentally but are forced to wait.
You learn nothing about who is ready for a plan upgrade versus who just wanted a free tutorial.
For an SEO SaaS, where LTV is high and customers are analytical, that’s wasted intent.
The journey in this pattern flips that. Each lesson is “gated” by engagement with the previous email or a timeout. The result is:
Higher lesson-to-lesson completion
A clean picture of who is engaged, stalled, or dropped
A natural transition into your upgrade or demo pitch
Let’s break it down node by node.
Step 1: Trigger enrollment when they raise their hand
Primary trigger in the sequence: Added Tag.
In Spreeflo, you set up an Added Tag trigger on something like tagId = "seo-course:foundations". Any time that tag is applied to a contact, they enter the journey.
Why tag-based entry instead of a one-off import or manual list?
You can enroll people from multiple sources: a Spreeflo form, a trial sign-up flow, an import, or even a webhook from your app, as long as they end up with that tag.
You keep the course logic decoupled from the capture surface. Your “SEO course” remains one reusable journey.
For most SaaS teams, the tag will be applied automatically. Typical paths:
A Spreeflo form on your site with “Get the 5-day SERP Diagnostics course” that maps submissions to contacts and adds the course tag.
A backend job that calls the Spreeflo API when a new trial starts and sets the tag on the contact.
In the trigger settings you’d usually turn re-enrollment on. If someone completes the course, then six months later signs up again with a different email alias or you intentionally re-tag them, they can flow through again.
If you’re new to building automations in Spreeflo, the overview of how to build a journey is a good pre-read.
Step 2: Mark course state immediately
First node after the trigger: Add Tag.
As soon as someone enters, the sequence:
Applies a tag like
"seo-course:active".Optionally applies another like
"seo-course:cohort-2026-07"if you care about cohorts.
Why this early?
You can always pull a segment of “everyone currently in the course” for quick analysis or ad-hoc broadcasts.
You avoid double-enrolling someone into overlapping nurture flows. Other journeys can exclude contacts who have
seo-course:active.
You can also use Update Contact Attribute here to store a static literal, for example:
course_name = "seo_foundations"course_source = "blog_sidebar"for one specific capture path
Those attributes give you more ways to slice data later with the segment builder.
This is where Brand Message 1 comes in: you’re capturing detail as they enter so you can speak to them more precisely later, instead of treating them as another email address in a flat list.
Step 3: Lesson 1 – the “hook” email
Next is your first Send Email node: Lesson 1.
This is the only place in the journey where it’s acceptable to send an email with no prior delay, because the contact just enrolled. Every subsequent email will be separated by either a Time Delay or a Wait Condition to avoid back-to-back sends.
In Spreeflo you’d build this email in the email builder. A few tips specific to SEO SaaS:
Subject line: promise a specific outcome (“Day 1: Find 3 ranking quick wins in 15 minutes”) instead of vague education.
Body: anchor the lesson around your product’s UI. Screenshots of “Add first keyword,” “See cannibalization issues,” or “Check SERP volatility” make it tangible.
CTA: a single primary click target back into your app. This click is your main engagement signal.
If you’re on the Professional plan, you can use AI personalization and variables (see the guide on personalizing with AI variables) to write intros that reference their website or primary keyword. That’s extra work, but for a small high-intent cohort it’s worth it.
Step 4: Gate Lesson 2 with a Wait Condition
After Lesson 1 sends, you don’t immediately push Lesson 2. Instead you add a Wait Condition node.
Configuration:
Condition: Email Activity → “opened” the Lesson 1 email “at least 1 time in the last 3 days” OR “clicked” that email.
Timeout: 3 days.
Practically, this means:
If they open or click Lesson 1 any time in those 3 days, they move on as soon as that happens.
If they do nothing, they still move on after 3 days, but you know they’re cold.
Why not just a fixed Time Delay?
Highly engaged leads progress as quickly as they consume. Someone who opens Lesson 1 in the first hour moves to the next step that same day.
You respect inboxes for people who aren’t engaging. They won’t get hammered with daily lessons they never opened.
This is the core of the pattern: lessons gated by real engagement, with a reasonable fallback for people who are busy.
Step 5: Branch on engagement and pace Lesson 2
Immediately after the Wait Condition, you add a Check Email Activity node for the same Lesson 1 email.
Branches:
Branch A: “Opened or Clicked”
Branch B: “Not Opened”
The “Opened/Clicked” branch is for people who engaged during the wait window. Here’s what that branch does:
Add Tag:
"seo-course:lesson1-engaged"so you can measure per-lesson engagement later.Time Delay: 1 day. This keeps you from sending two lessons in the same 24-hour period.
Send Email: Lesson 2.
The “Not Opened” branch is your safety valve:
Time Delay: 1 day (again, always keep spacing between sends).
Send Email: a short “Still want Lesson 2?” nudge. This is a different email template, not a re-send of Lesson 1.
Wait Condition: up to 2 more days waiting for an open or click on that nudge.
After that second Wait Condition you can make a choice:
If they opened the nudge, you send Lesson 2 as normal.
If they still haven’t engaged, you Remove Tag
"seo-course:active"and Add Tag"seo-course:stalled"and end the journey for them.
This is how you avoid leaking reputation on people who’ve clearly disengaged, while preserving the option for the genuinely busy to catch up.
Step 6: Repeat the lesson block for the rest of the course
Lessons 2, 3, and 4 follow the same pattern as Lesson 1:
For each lesson N:
Send Email – Lesson N.
Wait Condition – until they open or click Lesson N, or timeout (2–3 days).
Check Email Activity – branch on engaged vs not engaged.
Engaged branch:
- Tag aslessonN-engaged.
- Time Delay (1 day).
- Send Email – Lesson N+1 (if there is one).Not engaged branch:
- Time Delay.
- Short “Still want to continue?” nudge.
- Wait Condition.
- If still cold, mark stalled and end.
When you build this once visually in the journey editor, cloning the block for each lesson is quick. You can see all of this in context in the campaign and journey automation help doc if you want a reference while you build.
A key detail: each Send Email node in the journey should use its own template. Don’t try to “re-send” the same template for the nudge unless you explicitly turn off the “send only once” protection. It’s usually better to write a one-paragraph reminder with a different subject line.
Step 7: Use the final lesson to convert, not just educate
The last lesson in the course is where many SaaS teams waste the most potential. They end with a summary instead of a clear next step.
In this pattern, the final block has a slightly different shape.
On the engaged path of your last lesson’s Check Email Activity:
Add Tag:
"seo-course:completed".Time Delay: 1 day.
Send Email: Conversion email.
That conversion email should:
Recap the specific value they’ve already seen in your tool (“You’ve already set up rank tracking for 3 domains and fixed 5 high-impact issues”).
Make a time-bound, specific ask: upgrade to a higher plan, commit to annual, or book a “SERP deep dive” call.
Tailor the CTA to what you know about them. Agencies might see “Invite your team and get client-ready white-label reports”; solo founders might see “Lock in current pricing before your traffic grows.”
You can get that tailoring by storing static attributes when they enroll (role, company type) and referencing them in your templates. Over time, you might even add a Multi-way Split earlier in the journey based on role or company size to send agency owners through a version of the course that leans harder into reporting and collaboration.
On the not-engaged path of the final lesson, you still send a pitch, but with softer positioning:
“Did life get in the way? Here’s a single checklist to implement when you’re ready.”
One clear CTA to keep or upgrade the account if they see value later.
Even if they didn’t finish the course, a portion of these contacts will still convert. The key is that you’ve nurtured them with enough education that the pitch doesn’t feel out of nowhere.
Step 8: Read the metrics that matter
A behavior-gated course gives you far better signals than a flat drip. Here’s how to instrument it in Spreeflo.
1. Completion rate
Use tags and segments:
Segment “Course Completed” where tag contains
seo-course:completed.Segment “Course Enrolled” where tag contains
seo-course:foundations.
Completion rate is Completed / Enrolled. If it’s low, look for a specific lesson where tags like lesson3-engaged fall off and tighten the copy or UI in that email.
2. Lesson-to-lesson click-through
Each lesson’s email analytics show opens and clicks. You can also define a segment like “Opened Lesson 2 but not Lesson 3” and see what’s unique about them: plan, role, country. The audiences overview has more detail on segment-level analysis.
3. Conversion at end of course
Define a “Converted from Course” segment:
Must have tag
seo-course:completed.AND must have plan attribute
plan = paidor a custom event likesubscription_started(if you’re posting those to Spreeflo’s events API).
Compare that segment’s LTV or upgrade rate against a control group that never took the course.
4. Stalled and cold
Because you tagged people as seo-course:stalled when they failed to engage after the nudge, you now have a clean audience for a very different reactivation campaign. That’s where Brand Message 3 shines: you stop leaking lifetime value by quietly ignoring everyone who fell off lesson 1.
Adapting the pattern to your SEO product
For RankPulse, the course is all about diagnosing SERP drops. For your product, the framing might be different:
A content brief tool: “5 days to your first SEO content engine.”
A technical SEO crawler: “Eliminate 10 invisible technical issues this week.”
A backlink analysis platform: “From toxic links to authority in 5 focused lessons.”
The journey pattern stays exactly the same, because it’s built on behavior, not topic.
A few adaptation ideas:
Change the Wait Condition windows if your audience is enterprise. Longer buying cycles might call for slower pacing.
Add a Send Internal Email in the branch where someone clicks on a pricing-related CTA in the final lesson so you or a teammate can reach out personally for high-ACV prospects.
If you’re price-sensitive and thinking about tooling cost, remember forms and analytics are on Spreeflo’s free tier, and courses like this live on the Starter plan. You can see the details on Spreeflo’s pricing.
The common thread is simple: capture meaningful detail on every contact, then speak to them based on what they actually do with your content.
The bigger win: automation that compounds, not just educates
Most SEO SaaS teams treat their “free email course” as a list-building asset. It grows the top of funnel but doesn’t change the shape of revenue.
A behavior-gated course built as a Spreeflo journey is different:
Every lesson is an opportunity to observe intent, not just teach.
The flow respects your reader’s time and inbox, which keeps your sender reputation healthy.
The whole thing runs without you once it’s set up, compounding every week while you focus on product and distribution.
You’re not trying to turn into a media company. You’re trying to ship a system that nudges serious operators from casual interest through to “this tool belongs in my stack.”
Design this journey once, let it run for a month, then read what it tells you. The engagement tags, segments, and outcomes will highlight exactly where your product resonates and where the story needs work. That’s marketing automation at its best: a feedback loop that quietly makes your SEO SaaS harder to churn and easier to buy.
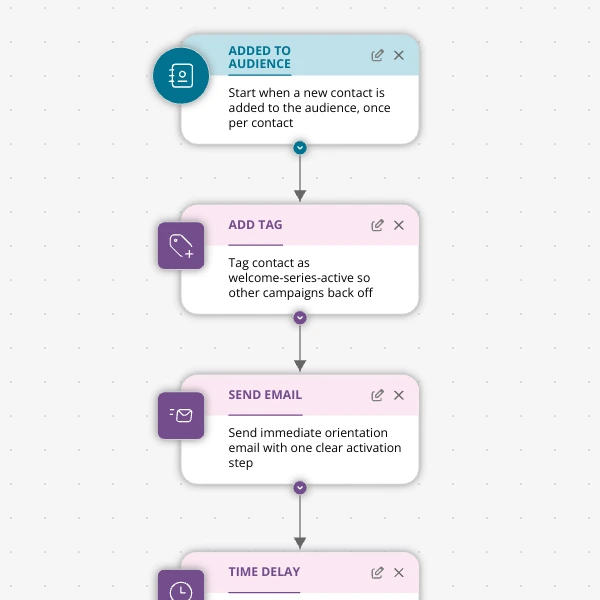
The Shopify app welcome series that turns installs into income
A step-by-step Shopify app welcome email journey for tools like CartSpark, showing how to turn new installs into activated, retained merchants using Spreeflo journeys, tags, and behavioral triggers so fewer trials quietly churn and more trials convert.
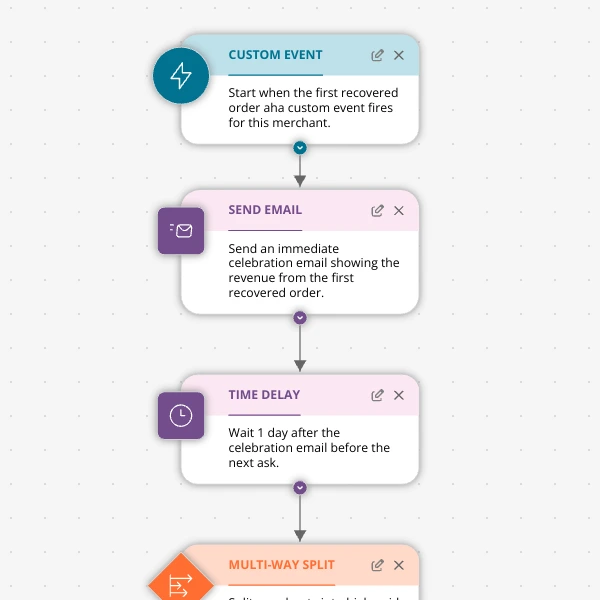
The Aha-Moment Playbook For Shopify Apps: Turn One Magic Action Into Months Of Revenue
A node-by-node playbook for Shopify and e‑commerce apps to center their lifecycle on one aha-moment custom event in Spreeflo, celebrate it, segment merchants by profile and engagement, and turn first recovered value into lasting revenue and retention.
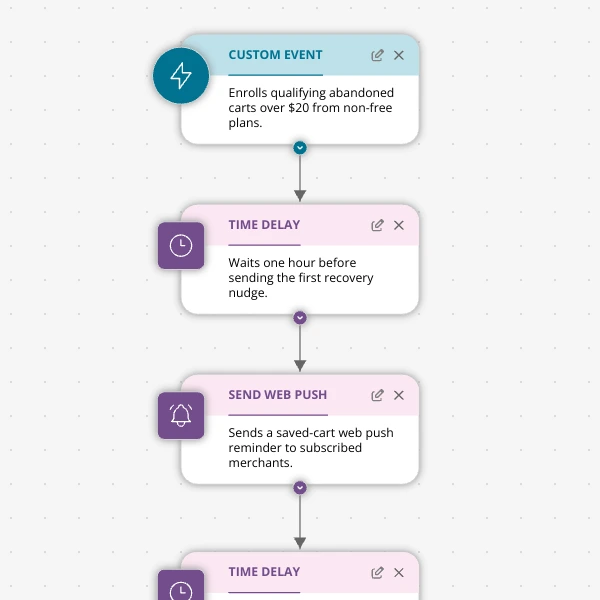
Stop Letting High‑Intent Carts Die: A 3‑Email Recovery Journey for Shopify Apps
A detailed, node-by-node walkthrough of a three-email (plus optional web push) cart-abandonment recovery journey for Shopify apps in Spreeflo, showing how to trigger events, branch on behavior, tag outcomes, and measure recovered carts and revenue.
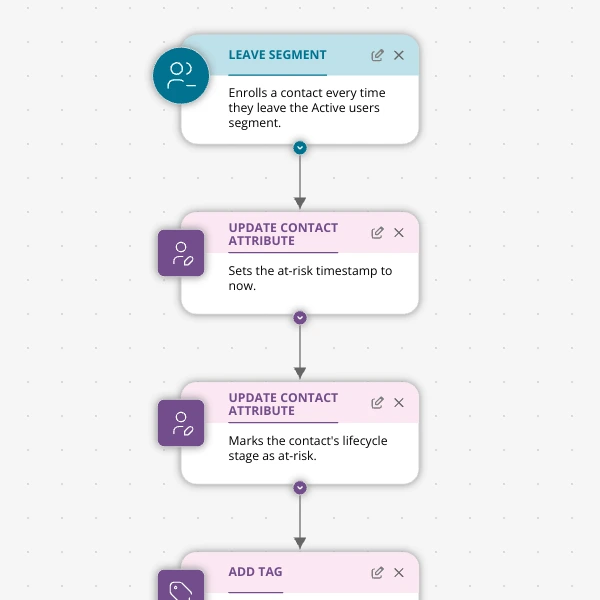
When Active Users Go Dark: A 4‑Touch Win‑Back Journey For Your Shopify App
A detailed, node-by-node Spreeflo journey for winning back previously active Shopify app users who stop engaging, using segment-based triggers, conditional logic, and a four-touch email plus internal alert sequence to recover usage and MRR.