Stop Guessing Subject Lines: A/B Test Every Behavioural Email in Your SEO SaaS
Walkthrough for SEO SaaS founders on wiring subject-line A/B tests directly into Spreeflo journeys, using a weekly digest example to improve opens and in‑product conversions automatically while reusing the same pattern across other behavioural emails.
Industry
Niche
Pattern
Loading sequence...
Your weekly rank report is doing less work than it should.
If you’re sending the same behavioural emails week after week — “weekly rank summary”, “new keyword opportunities”, “your crawl is done” — without continuously testing subject lines, you’re leaving opens, activations, and MRR on the table. The sequence at the top of this page is the whole journey, end to end, for fixing that with a built‑in subject‑line A/B test.
Imagine RankPulse, a three‑person SEO SaaS doing $35k MRR. They ship a “Weekly SERP Movement” email to every paying account, but opens hover around 21%. The founder knows they should be testing subject lines, but no one has time to set up manual A/B tests for every send. This is exactly where a simple automation — built once, then left alone — earns its spot in your stack.
Let’s walk through how to do that in Spreeflo.
Why your subject-line tests should live inside automations
Most founders run the occasional A/B test as a one‑off campaign: clone the email, change the subject, split the segment, send, wait, eyeball stats, then… forget to repeat it.
That approach has three problems:
It competes with feature work and support for your time.
It only tests for that one send; you don’t build a habit of experimentation.
It’s disconnected from behaviour. You test the newsletter, but not the rank alerts, onboarding nudges, or churn saves where small lifts really matter.
A better pattern is to wire the test into the automation itself:
A behavioural trigger (like “weekly_rank_digest_ready”) fires.
Spreeflo’s Random Split node sends half your users to subject line A, half to subject line B.
Downstream nodes track opens and conversions.
You pull the numbers and declare a winner.
Update the base template and, when you’re ready, re‑run a new test.
You build the system once inside a journey, and it quietly runs for you every time. That’s what “founder‑led businesses win on leverage, not headcount” looks like in practice.
The core use case: testing your weekly SEO digest
We’ll anchor the walkthrough on a concrete SEO SaaS example:
Your app generates a weekly SEO opportunity digest for active customers (new keywords to target, pages that slipped, quick‑win changes).
When the digest is ready, your backend posts a
weekly_digest_readyevent to the Spreeflo API.A journey catches that event, randomly assigns each contact to subject A or B, sends the email, and tags them so you can analyse opens and conversions later.
You can reuse the pattern for other emails — trial activations, “add your first keyword”, “connect Google Search Console” — but starting with a recurring digest gives you regular volume to test against.
Step 1: Pick a high‑intent trigger (and wire it in correctly)
First, decide which behavioural moment is worth this attention.
For most SEO SaaS products, good candidates are:
Weekly or monthly rank / opportunity summaries
Major crawl completions (“Your technical SEO audit is ready”)
Milestone nudges (“You’re close to tracking 100 keywords”)
We’ll assume “weekly digest” here.
In your backend, when the digest is generated, have your job POST to the events endpoint of the Spreeflo API with something like:
event: "weekly_digest_ready"email: [customer’s email]Any useful properties (e.g.
plan: "agency",digest_range_days: 7)
In Spreeflo, create a new Journey and add a Custom Event trigger:
Event name:
weekly_digest_ready.(Optional) Property conditions: filter to paying plans only, e.g. property
planis notfree.Re-enrollment: on. The same contact should enter this journey every time the weekly digest is ready.
This re-enrollment choice matters. You want this journey to run every week, not just once per customer.
Step 2: Insert a 50/50 Random Split right after the trigger
Next, drag a Random Split node onto the canvas immediately after the trigger.
Configure it:
Branch A label: “Subject A”
Branch B label: “Subject B”
Percentage: 50% to Path A (Path B automatically gets the other 50%)
Putting Random Split directly after the trigger ensures:
Every other part of the flow stays identical for both groups.
The only systematic difference is the subject line they see.
No behaviour‑based filtering, no “VIPs get one subject, everyone else another”. You want a clean random sample across your digest audience.
Step 3: Build two email variants with only one difference
Now for the fun part: the emails.
On the “Subject A” branch, add a Send Email node:
Choose or create a marketing template for your weekly digest in the email builder.
Subject A example:\n “Your SEO wins and losses this week”
On the “Subject B” branch, add another Send Email node that uses the same body but a different subject, for example:
Subject B:\n “7 days of SEO movement: new rankings, drops, and quick wins”
A few details to keep this a real A/B test, not a multi‑variable mess:
Keep the body identical. Same preview text, same layout, same CTAs.
Keep the from name and address identical.
Change only the subject line. You’re testing that, not your whole email.
In each Send Email node:
Decide on Send only once: For a weekly digest, you typically want it off so regular customers keep getting their digest every week, even as the journey re‑enrolls them.
For a one‑time onboarding email, you’d turn Send only once on.
Now each new weekly_digest_ready event will send a single email with either subject A or B, never both.
Step 4: Tag recipients by variant so you can measure downstream
Immediately after each Send Email node, add an Add Tag action to stamp which subject they saw.
On the “Subject A” path:
Add Tag:
digest_subject_a
On the “Subject B” path:
Add Tag:
digest_subject_b
This is optional for basic open‑rate comparison (Spreeflo’s email analytics already show opens per email template), but essential if you care about conversion:
Did subject A recipients actually log in and use the product more?
Did subject B recipients add more keywords or generate more briefs?
With tags in place, you can later build segments like:
“Contacts tagged
digest_subject_awho added at least 1 keyword in the last 7 days”Versus the same rule for
digest_subject_b
If you want a refresher on tags, the help doc on getting started with tags covers the basics.
Step 5: Give people time, then check who opened
You want enough time for recipients to see the email before you judge it.
After the Add Tag node on each branch:
Insert a Time Delay node: Delay: 3 days Unit: Days (Any value ≥ 1 day is valid; choose a window that fits your digest’s shelf life.)
After the delay, add a Check Email Activity node on each branch, pointing at that branch’s email template: Marketing email: the digest A or B template you just sent. Activities to branch on: at minimum, Opened.
Each Check Email Activity node will now split its branch into:
An “Opened” path (for contacts who opened that specific email)
An “Else” path for everyone else (unopened, bounced, etc.)
On the “Opened” path for each variant, you may want to:
Add Tag:
digest_a_openedordigest_b_opened.
On the “Else” path, you could either do nothing or add tags like digest_a_unopened. You don’t need to send another email here to run the test; the point is to have clean labels for analysis.
Finally, add a Merge node after both variants’ Check Email Activity branches re‑converge, so everyone continues to the same downstream flow (or simply exits the journey if the digest is the whole point).
This structure keeps your test self‑contained:
One random split
Two sends
Clean tracking of opens by subject and variant
No extra messages, no spammy follow‑ups.
Step 6: Define the conversion you actually care about
Open rate is a useful proxy, but as an SEO SaaS founder you care more about behaviour:
Did they add more keywords?
Did they generate a content brief?
Did they fix issues from a technical audit?
Pick one primary action that should follow from this digest. Examples:
added_keywordgenerated_briefviewed_reportconnected_search_console
Track that action as a Custom Event:
In your web app’s frontend via the Spreeflo SDK (
Spreeflo.track('added_keyword', …)when they add one), orIn your backend via the Spreeflo API when a job completes (
event: "generated_brief"with the contact’s email)
Either way, once that event is flowing into Spreeflo, it becomes available in:
The segment builder (“Custom events →
added_keyword→ at least 1 time in the last 7 days”)Journey triggers and conditions
Analytics and reporting
Step 7: Measure opens and conversions by variant
Now that the journey has been running for a while, you need to answer three questions:
Which subject got the higher open rate?
Did that higher open rate also lead to higher in‑product action?
Are the differences big enough to act on, or just random noise?
For open rate:
Look at each digest email’s performance metrics inside Spreeflo. Because each variant uses a distinct email template, you get open, click, and bounce stats per subject.
For conversions:
Create two saved segments using the segment builder: Segment “Digest A converters”: Contact Tags: contact is tagged with
digest_subject_aAND Custom Events:added_keywordtriggered at least 1 time in the last 7 days. Segment “Digest B converters”: Same custom event rule, but tagged withdigest_subject_b.Note: Total contacts with tag
digest_subject_avsdigest_subject_b. How many of each are in the corresponding “converters” segment
That gives you:
Open rate per subject (from email analytics)
Conversion rate per subject (from segment counts)
For statistical significance, you can either:
Use a simple rule of thumb (if B is clearly ahead across a few hundred sends, it’s usually fine to declare victory), or
Export the counts and run them through your favourite A/B significance calculator.
Spreeflo gives you the raw pieces — which subject, who opened, who converted — and you decide how strict to be.
Step 8: Call the winner and bake it into your stack
Once you have a clear winner, you have a few choices.
Option 1: Replace the “loser” template
Update the losing email template’s subject line to match the winner.
Leave the Random Split node at 50/50, but both paths now point to emails with the winning subject.
The journey continues to run, still tagging recipients, but your subject is now optimised.
Option 2: Stop the test and simplify
Remove the Random Split and one of the Send Email branches.
Connect the trigger directly to the winning Send Email node.
Keep the delay and Check Email Activity if you still want open‑tracking tags.
Option 3: Queue up the next test
Because this pattern is so cheap to run once it’s set up, you can keep iterating:
New subject C vs current winner.
Test adding dynamic tokens (e.g. “Your rankings this week for {primary domain}”).
Test different angles (“Quick SEO wins” vs “Deep technical issues to fix”).
The mechanics stay the same; only the copy changes.
Adapting this A/B test to other SEO SaaS moments
The weekly digest is just one place where this journey shines. The same structure works for:
Trial activation nudges\nTrigger:
started_trialevent.\nGoal: get them toadded_first_keywordorconnected_search_console.\nTest: urgency vs curiosity in subject lines.Churn‑risk re‑engagement\nTrigger: segment “Inactive for 30 days” joins a segment.\nGoal: get them to log in and run a fresh audit.\nTest: direct “Come back” vs value‑focused subjects.
Upsell prompts\nTrigger:
hit_limitevent (max keywords or projects).\nGoal: upgrade to a higher plan.\nTest: “You’ve outgrown your plan” vs “Unlock more keywords”.
In each case, you:
Swap in the right behavioural trigger.
Keep the Random Split + Send Email + tagging structure.
Choose a single conversion event that matches the email’s job.
Once you see how fast it is to build a journey like this, you stop shipping “best‑guess” subject lines and start running small, constant experiments.
Why this pattern is worth your time as a founder
You’re not trying to become an email marketer. You’re trying to grow MRR on a small team without drowning in manual marketing work.
This subject‑line A/B test journey is a good trade:
You set it up once.
It keeps running in the background on every behavioural email you wire it into.
It steadily improves your open and conversion rates, compounding over time.
Because it depends on tags, events, and the segment engine, it also reinforces a habit that pays off everywhere: capture detail on every customer so you can speak to each uniquely.
If you’re already thinking about which trigger you’d start with, it’s probably time to sketch this out and see how it looks in your own account. The free plan makes it easy to start experimenting, and when you’re ready to send automated email at scale, the details on Spreeflo’s pricing plans keep it predictable as you grow.
Set up the journey once. Let it test while you ship the next feature.
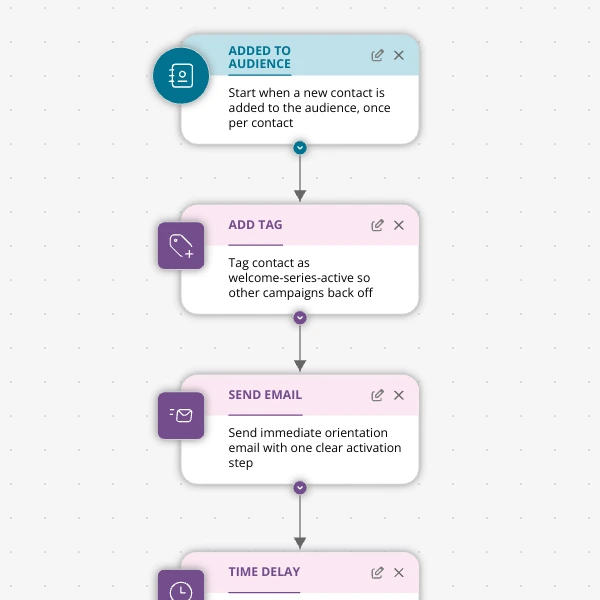
The Shopify app welcome series that turns installs into income
A step-by-step Shopify app welcome email journey for tools like CartSpark, showing how to turn new installs into activated, retained merchants using Spreeflo journeys, tags, and behavioral triggers so fewer trials quietly churn and more trials convert.
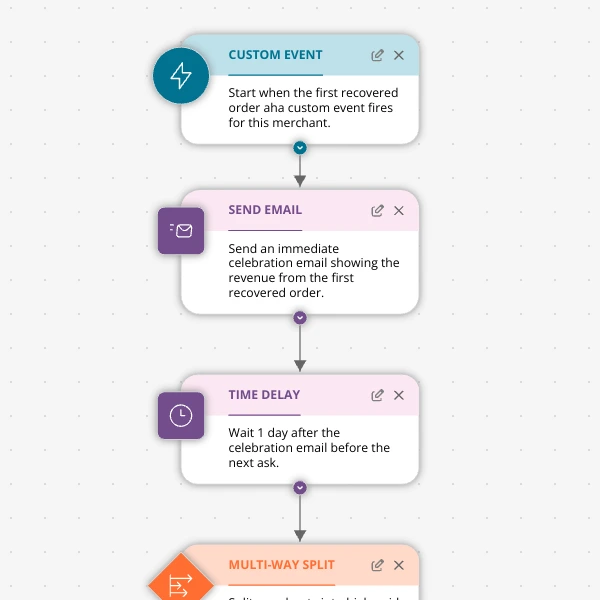
The Aha-Moment Playbook For Shopify Apps: Turn One Magic Action Into Months Of Revenue
A node-by-node playbook for Shopify and e‑commerce apps to center their lifecycle on one aha-moment custom event in Spreeflo, celebrate it, segment merchants by profile and engagement, and turn first recovered value into lasting revenue and retention.
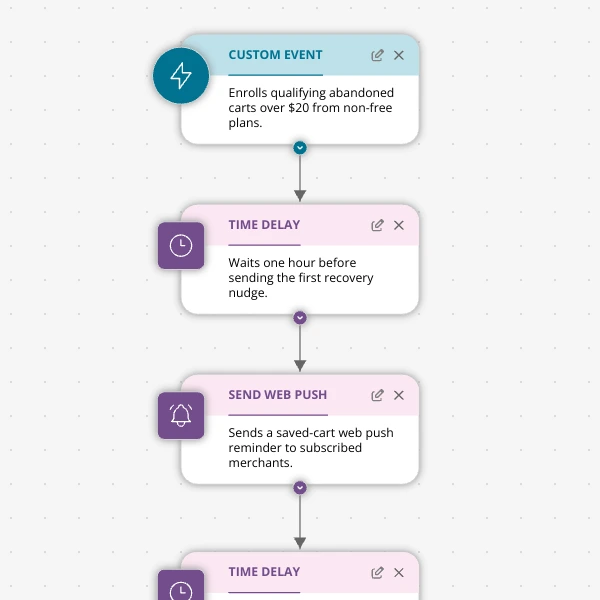
Stop Letting High‑Intent Carts Die: A 3‑Email Recovery Journey for Shopify Apps
A detailed, node-by-node walkthrough of a three-email (plus optional web push) cart-abandonment recovery journey for Shopify apps in Spreeflo, showing how to trigger events, branch on behavior, tag outcomes, and measure recovered carts and revenue.
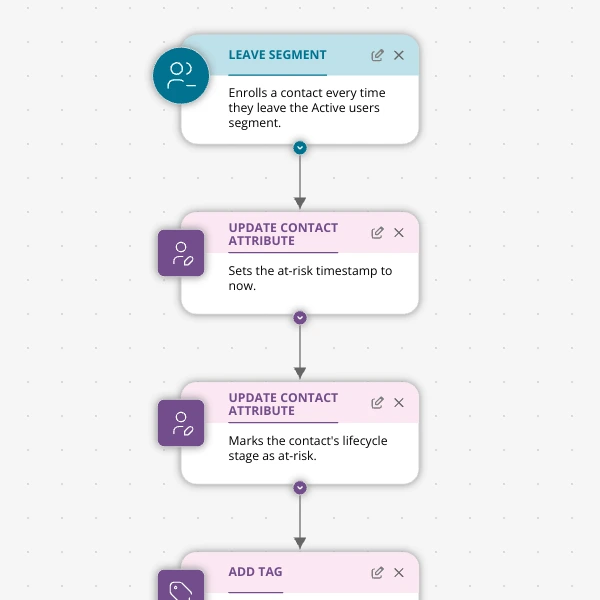
When Active Users Go Dark: A 4‑Touch Win‑Back Journey For Your Shopify App
A detailed, node-by-node Spreeflo journey for winning back previously active Shopify app users who stop engaging, using segment-based triggers, conditional logic, and a four-touch email plus internal alert sequence to recover usage and MRR.