Turn Your Onboarding Checklist Into a Conversion Engine (For SEO SaaS)
This playbook shows how to wire your SEO SaaS onboarding checklist into Spreeflo journeys, sending tiny behavior-based emails after each step so more trials reach activation, see value faster, and stick around.
Industry
Niche
Pattern
Loading sequence...
Most SEO tools lose trials in the quiet middle: someone signs up, checks off one or two onboarding tasks, then drifts away without ever seeing real rankings move.
The sequence at the top of this page is one simple fix: every time a user completes a checklist item in your app, they get a short, specific email that celebrates the win and gently points to the next step.
We’ll walk through that journey node by node using a fictional SEO SaaS, BrieflySEO, that sells automated content briefs to in‑house marketers and agencies at around $60k MRR. By the end, you’ll have a pattern you can drop straight into your own onboarding.
Why checklist progress is your most underused growth lever
If you already have an in‑app onboarding checklist, you’re ahead of many SaaS teams. But in most SEO products that checklist is passive:
It only exists inside the app.
It doesn’t personalize messaging beyond a generic “Complete your setup” banner.
It resets or disappears when the session ends.
That’s a problem, because your checklist isn’t random. Each item is a proxy for a known activation milestone:
“Connect Google Search Console”
“Add your first domain”
“Generate your first content brief”
“Set up rank tracking or alerts”
“Invite a teammate”
The more of those a new customer completes, the more likely they are to stick, upgrade, and tell other SEOs about you.
What the journey above does is simple:
Capture the detail of which checklist item each user just completed.
Fire a tiny, behavior-based email at that moment that:
Acknowledges the step.
Shows visible progress.
Makes the next step feel natural and specific.
Done well, this moves three numbers that matter for an SEO SaaS:
Checklist completion rate.
Activation rate (how many trials actually reach your “aha”).
Time-to-value (how long until they see rankings, content, or reports they care about).
And because it’s automated, you build it once and it quietly compounds in the background.
The journey at a glance
Before we go node by node, here’s what the sequence at the top of this page does in plain language:
Your app tracks a custom event whenever a user clicks “complete” on an onboarding checklist item.
A single journey in Spreeflo has one Custom Event trigger per checklist step you care about.
Each trigger immediately sends a short Send Email action tailored to that step, then updates the contact with a tag or attribute.
Those tags and attributes become the backbone of segments you’ll use for reporting and future campaigns.
There’s no long drip, no complex branching tree. Just fast, contextual nudges tied directly to behavior.
Let’s build it.
Step 1: Track checklist completions from your app
The pattern lives or dies on one thing: reliable behavioral data.
In a browser-based SEO SaaS, that’s usually coming from your frontend via the Spreeflo SDK. When a logged-in user completes a checklist item in the UI, your app should:
Make sure they’re identified with
Spreeflo.identify(email, {...})at login.Fire a custom event such as
onboarding_checklist_item_completedwith a property that names the step, for examplestep: "connect_gsc".
If some steps are triggered in server-side processes (for example, you auto-create a first report after they upload a CSV), send those via the Spreeflo API instead. Same event name, same step property, just from your backend.
The key is consistency:
One event name:
onboarding_checklist_item_completed.One property to describe which item:
step.One email address as the unique identifier.
That’s how you “capture detail on every customer so you can speak to each uniquely” instead of spraying a generic day‑3 onboarding email to everyone.
Step 2: Create the journey and core trigger
In your Spreeflo workspace, create a new Journey in the visual editor. If you’re new to this part of the product, the campaigns and journeys overview gives a nice visual primer.
For this pattern, you don’t start from “contact added” or a time-based trigger. You start from behavior:
Drag in a Custom Event trigger.
Set the event name to
onboarding_checklist_item_completed.Toggle “Re-enrollment” on. You want this trigger to fire every time a checklist item is completed, not just the first time.
Don’t add property conditions here yet. This first trigger will be your “catch-all” if you later want a default branch for miscellaneous steps.
Your journey now enrolls a contact any time they complete any checklist item.
Next, you’ll add more specific triggers for each high-value step.
Step 3: One Custom Event trigger per checklist step
Still in the same journey, drag in additional Custom Event triggers—one for each checklist item that truly matters for activation.
For BrieflySEO, we’ll use three:
“Connect Google Search Console”
“Generate your first brief”
“Set up rank tracking on at least one keyword set”
For each:
Set the event name to
onboarding_checklist_item_completed.Turn “Re-enrollment” on.
Enable property conditions and filter where
stepmatches the step’s internal ID (for examplestep = "connect_gsc").Give the trigger a descriptive label like “Completed: Connect GSC”.
You now have three independent entry points into the same journey:
Whenever someone completes “Connect GSC,” they enter via Trigger A.
Whenever someone generates their first brief, they enter via Trigger B.
Whenever someone sets up rank tracking, they enter via Trigger C.
Spreeflo ensures a contact isn’t processed by multiple copies of the same journey at the exact same moment, but because each path here is very short, real-world conflicts are rare.
Step 4: The email after “Connect Google Search Console”
Let’s wire the first path. From the “Completed: Connect GSC” trigger:
Add a Send Email action.
Set "Send only once" to on (the default), so a user who reconnects GSC later doesn’t get duplicates.
Build the email content in the email builder.
What the email says matters more than how it looks. For a technical SEO audience, keep it concrete:
Subject: “Nice. Your search data is now flowing into BrieflySEO.”
Body:
One line confirming what just happened: they connected GSC successfully.
A simple visual of the checklist with step 1 ticked off.
A very specific next action: “Next, generate your first brief using that data. Here’s the 3‑click path: Dashboard → New brief → Choose your connected domain.”
Optional: one short sentence about expected time-to-value (“Most users see their first content opportunity in under 10 minutes.”).
Back in the journey:
After the Send Email, add an Add Tag action.
Tag name could be
onboarding_step_1_completed.This gives you a clean way to segment on or report against this milestone later.
Then end that path. No extra delays or conditions needed.
Why keep it that simple?
You’re already reinforcing the behavior in-app with a success state.
The email’s job is to extend that moment into the inbox and point at the next lever, not start a new mini-drip.
Short paths also mean there’s almost no window where this path could block another checklist-triggered email for the same user.
Step 5: The email after “Generate your first brief”
Repeat the pattern for your second high‑value item: the first brief.
From the “Completed: First brief” trigger:
Add Send Email.
This email has a slightly different job. The user has already seen content output once; now you want to turn that into a habit and move them closer to your activation definition.
For BrieflySEO:
Subject: “Your first content brief is live. Here’s how to make it count.”
Body might include:
A quick recognition: “You’ve generated your first brief for [domain]—nice work.”
One insight about what great users do next, for example:
“Teams that publish from at least 3 briefs in their first week are 2.4x more likely to stick around.”
A concrete nudge: “Next step: schedule or publish that piece, then set rank tracking on its primary keyword. Here’s how.”
You can personalize this heavily using AI and variables if you want, but even a static, well‑written email tailored to that exact step will outperform a generic onboarding blast. If you’re curious about AI-assisted copy, the help doc on personalizing with AI variables is worth a skim.
After the Send Email, add another Add Tag, for example
onboarding_step_2_completed.
Again, end the path there.
Step 6: The email after “Set up rank tracking”
For many SEO tools, “tracking” is when a trial user crosses into true product usage. They’ve committed to watching something over time inside your platform instead of just exporting a one‑off CSV.
From the “Completed: Rank tracking” trigger:
Add Send Email.
This one is both a celebration and, quite often, an upsell seed:
Subject: “You’re tracking rankings. Now let’s keep them moving up.”
Body:
Confirm what’s live: “You just set up tracking for [N] keywords.”
Show progress: remind them they’ve completed multiple checklist items by now.
Next nudge ideas:
“Invite your content lead so briefs and rankings live in one place.”
“Turn on weekly email reports so you never miss a movement in the SERPs.”
Add Add Tag, for example
onboarding_step_3_completed.
If inviting teammates or enabling weekly reports are important activation points for your product, you can later build separate journeys triggered by those tags or by new events like team_member_invited.
Step 7: Using tags and segments to keep score
The journey above is doing two things at once:
Nudging people along the checklist in real time.
Quietly labeling where each contact is in onboarding.
Those tags (onboarding_step_1_completed, etc.) become powerful inputs to Spreeflo’s segment builder. With a few saved segments you can answer questions that most SEO SaaS teams guess at:
“How many active trials have connected GSC but never generated a brief?”
“What’s the churn rate difference between accounts that reach rank tracking vs. those that don’t?”
“Which agency accounts have invited at least two teammates during trial?”
Example segment for “Stuck after step 1”:
Email subscription status is Subscribed.
Tag contains
onboarding_step_1_completed.Tag does not contain
onboarding_step_2_completed.Contact added date is within the last 21 days.
You can market to that segment with a one‑off campaign, or create additional journeys with Join Segment triggers if you want automation to handle it.
This is how you stop treating all “trial users” as equal and start talking to each one based on exactly where they are in your product.
Step 8: Protecting the inbox (and your brand)
Behavioral onboarding is powerful, but it can get noisy quickly if you’re not intentional.
A few guardrails:
One email per checklist item. Each journey path we’ve built sends a single message and exits. That alone keeps frequency in check.
Let the app do the “immediate” celebration. Your in‑app snackbar or toast says “GSC connected”; the email adds context and the next step.
Avoid stacking broadcasts on top of these. When you send a big product update to all users, use segments to exclude brand‑new trials or those who just completed a step in the last 24 hours.
Keep copy short. These are transactional in spirit: high‑signal and focused, not newsletters.
If you do ever need multiple emails in sequence for a single step (for example, a reminder cadence for users who stall on “connect GSC”), insert a Time Delay or Wait Condition between each Send Email to avoid back‑to‑back hits. The campaign and journey automation help guide walks through how those pacing nodes work.
Step 9: Measuring impact on activation and time-to-value
Once the journey has been running for a few weeks, you can start treating it like an experiment instead of a hunch.
Some simple analyses using tags and events:
Checklist completion rate: of all contacts who started a trial this month, what percentage have each of the
onboarding_step_X_completedtags?Activation rate: define a working “activation” (for example, has step 2 and step 3 tags) and track how many trials cross that line.
Time-to-value: for users who reach activation, how many days between the
trial_startedevent and the tag for step 3?
You can approximate these inside Spreeflo with segments and contact counts, or push contact data out via a Webhook for deeper analysis in your own tools. Either way, because you deliberately captured behavioral detail and wrote it back to contact records, the math becomes straightforward.
Most founder‑led SaaS teams leak lifetime value here: trials that almost get to value, then churn silently. A tiny amount of automation focused exactly on those moments is how you stop that leak without hiring a team.
Step 10: Adapting the pattern to your SEO SaaS
The example above used BrieflySEO. For your product, the actual steps change, but the structure doesn’t.
For a rank tracker like RankPulse, your steps might be:
Add your first project or domain.
Add at least 10 keywords.
Set up a weekly email report.
Invite a client to the read‑only dashboard.
For a technical SEO crawler:
Connect your site or upload a sitemap.
Run your first full crawl.
Fix at least one critical issue.
Schedule recurring crawls.
The pattern stays the same:
Decide on 3–5 checklist items that genuinely move the needle on retention.
Instrument each as a
onboarding_checklist_item_completedevent with a uniquestepvalue.Add a Custom Event trigger + Send Email + Add Tag path for each inside a single journey.
Use tags and segments to report on where people stall and where they succeed.
Because Spreeflo prices on marketing contacts, not raw events, you can be as granular as you like without watching costs explode. If you’re curious how that plays out at your scale, a quick look at Spreeflo’s pricing will give you the ranges.
The quiet compounding effect
You don’t need a 15‑email onboarding saga to improve activation. Often, you just need to stop treating “trial user” as a single bucket and start responding to what each person actually did:
This user connected GSC but never generated a brief.
That agency added 200 keywords but never set up reporting.
Another founder invited a teammate but never ran a crawl.
A lightweight journey that listens for checklist completions and nudges the next step turns that raw behavior into tailored guidance, automatically.
For a small SEO SaaS team, that’s the kind of leverage that matters. You design the steps once, wire them into Spreeflo’s journeys, and let the system keep every new trial marching toward their “aha” moment while you focus on shipping product.
The pattern on this page is intentionally simple. But in practice, it’s the difference between an onboarding checklist that looks good in a screenshot and one that actually earns its place on your roadmap.
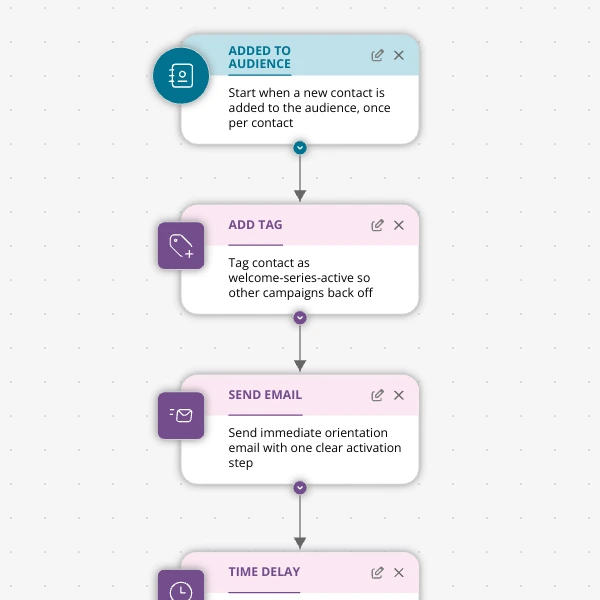
The Shopify app welcome series that turns installs into income
A step-by-step Shopify app welcome email journey for tools like CartSpark, showing how to turn new installs into activated, retained merchants using Spreeflo journeys, tags, and behavioral triggers so fewer trials quietly churn and more trials convert.
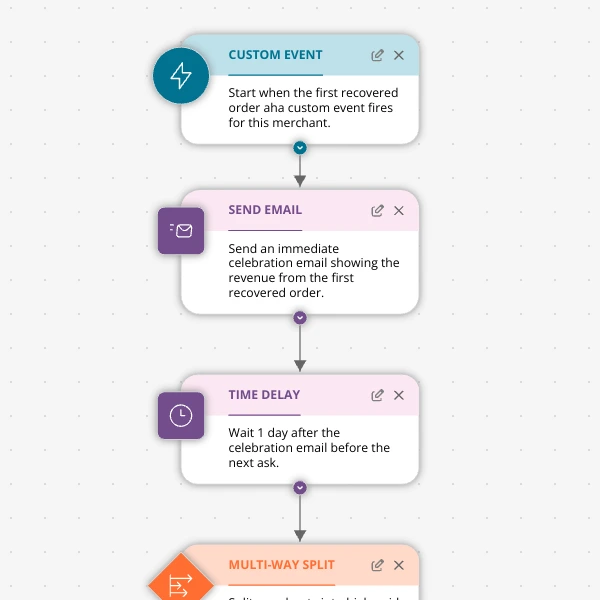
The Aha-Moment Playbook For Shopify Apps: Turn One Magic Action Into Months Of Revenue
A node-by-node playbook for Shopify and e‑commerce apps to center their lifecycle on one aha-moment custom event in Spreeflo, celebrate it, segment merchants by profile and engagement, and turn first recovered value into lasting revenue and retention.
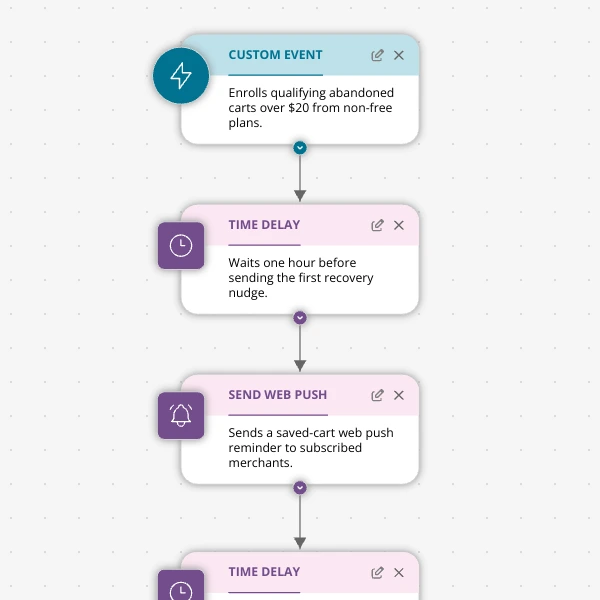
Stop Letting High‑Intent Carts Die: A 3‑Email Recovery Journey for Shopify Apps
A detailed, node-by-node walkthrough of a three-email (plus optional web push) cart-abandonment recovery journey for Shopify apps in Spreeflo, showing how to trigger events, branch on behavior, tag outcomes, and measure recovered carts and revenue.
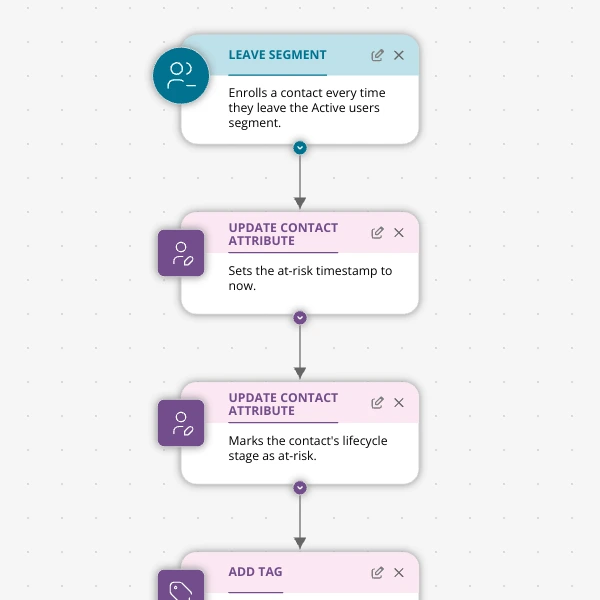
When Active Users Go Dark: A 4‑Touch Win‑Back Journey For Your Shopify App
A detailed, node-by-node Spreeflo journey for winning back previously active Shopify app users who stop engaging, using segment-based triggers, conditional logic, and a four-touch email plus internal alert sequence to recover usage and MRR.