Stop Letting Hard Bounces Quietly Kill Your Email Deliverability
This playbook shows SEO SaaS founders how to wire hard-bounce events into Spreeflo so every bad address is instantly tagged, suppressed, and surfaced to ops, protecting deliverability, sender reputation, and recurring revenue.
Industry
Niche
Pattern
Loading sequence...
An email list full of trial signups, one-off testers, and churned agencies is a fact of life for SEO SaaS. Letting that list quietly collect hard bounces is optional.
For a product like RankPulse (our fictional rank-tracking SaaS at ~$35k MRR), a few campaigns with 3–5% hard bounces can pull sender reputation down enough that high-intent users never see onboarding tips, feature launches, or “you’re slipping in the SERPs” nudges. That is pure lifetime-value leakage.
The sequence at the top of this page is the whole journey, end to end. It turns every confirmed hard bounce into three things within seconds: a tag, a suppression, and an internal alert.
This article walks through that journey step by step and shows how to adapt it to your own stack.
Why hard-bounce suppression is a retention play, not a hygiene chore
Most founders treat bounces as something the ESP “handles” somewhere in the background. Or as a quarterly CSV cleanup task they never quite get to.
For an SEO SaaS, that’s expensive complacency:
Every hard bounce drags down your domain’s reputation, which drags down inbox placement for your engaged users.
Deliverability issues usually show up first in the very messages that defend churn: onboarding sequences, “you’re under-using this feature” prompts, and renewal nudges.
Agency-heavy audiences churn faster when reports and alerts go missing. They assume your app is flaky and move on.
Brand Message 3 in action: most businesses leak customer lifetime value by not nurturing engagement. You can’t nurture what never hits the inbox. A hard-bounce suppression flow is how you stop repeatedly hammering dead addresses and protect the ones that still want to hear from you.
The pattern here is simple:
Listen for a “bounce” event from your sending stack.
Confirm it’s a hard bounce worth acting on.
Immediately tag and suppress the contact.
Notify operations to fix what can be fixed.
Let’s start at the top of the journey.
Step 1: Getting the bounce signal into Spreeflo
Bounces don’t originate in Spreeflo. They originate wherever your email is actually sent.
That might be:
Your transactional provider (Postmark, SendGrid, etc.).
A separate marketing platform you’re migrating away from.
A home-grown SMTP setup in your app.
Each of those tools already posts bounce webhooks to your backend. Your first job is to forward that information to Spreeflo’s events API as a custom event.
Use the Spreeflo API to send an event every time your backend sees a bounce. The event should contain at least:
An event name, for example
email_bounced.The contact’s email address (so Spreeflo can map it to a contact).
Properties such as:
bounce_type(hardvssoft),category(marketingvstransactional),reason(mailbox full, domain doesn’t exist, etc.),source(which provider reported it).
Once those events land inside Spreeflo, the journey’s trigger can do its work.
Step 2: Trigger on the hard bounce event
This is a journey, not a campaign, because you want it running continuously for every new bounce. If you need a refresher on the differences, the help doc on campaign and journey automation breaks it down.
On the canvas, the first node is:
Trigger: Custom Event
Configuration:
Event name:
email_bounced(or whatever you used in your API payloads).Add property conditions: on.
Property condition:
Re-enrollment: off.
Property key:
bounce_type.Operator:
is.Value:
hard.
Why this matters:
Filtering on
bounce_type = hardat the trigger saves you from wasting ops time on soft bounces that often resolve themselves.Re-enrollment off keeps a glitchy provider or replayed webhook from spamming your team with duplicate alerts. The first hard bounce is enough to suppress the address.
If you care only about bounces from specific systems (for example “marketing emails sent from Tool X”), add a second property condition on source or category.
At this point, any contact with a confirmed hard bounce immediately enters the journey.
Step 3: Split on whether the contact is still an active subscriber
Not every hard bounce deserves the same treatment. A bounce on a contact you already unsubscribed last year is different from a bounce on an active trial user.
Next node:
Process: If/Else
Condition:
Category: Contact Attributes.
Field: Email Subscription Status.
Operator: is.
Value: Subscribed.
Branches:
Then: “Currently subscribed”.
Else: “Already not subscribed”.
Why this matters:
The “Currently subscribed” branch is where we do the heavy suppression work.
The “Already not subscribed” branch lets you handle weird edge cases (old or transactional addresses) more lightly, without over-notifying your team.
Under the hood, this condition uses the same engine as the segment builder, just embedded inside the If/Else node. You get full AND/OR logic if you want to add more nuance later (for example “Subscribed AND Plan is Agency”).
Let’s walk the high-priority “Currently subscribed” path first.
Step 4 (Then branch): Tag the hard bounce for visibility
First action on the “Currently subscribed” branch:
Action: Add Tag
Configuration:
Tags: create or select something like
hard-bounceand/oremail-invalid.Force tag trigger: off (you don’t need to fire Added Tag triggers from this).
Why tag if we’re also updating subscription status? Three reasons:
Reporting. You can build a quick segment of “contacts tagged with
hard-bounce” and see how many broken addresses you’ve collected, by plan or source.Safety net. If you ever want to re-import or sync contacts, tags make it obvious which records must not be emailed again.
Experimentation. Later, you might want A/B flows that treat high-LTV bounces differently. Tags give you an easy dimension to play with.
If you’re new to tags inside Spreeflo, the guide on getting started with tags is worth a skim.
Step 5 (Then branch): Stop all future marketing sends
Next, you make sure this contact will not receive another marketing email from you.
There are two layers to this.
1. Action: Update Email Subscription Status
Status: Email unsubscribed.
This is the canonical “do not send marketing” switch. It tells Spreeflo’s email engine that the contact is out for marketing purposes, regardless of which journey tries to send.
2. Action: Update Contact Attribute
Attribute: Marketing Status.
Delete value: off.
Update type: Update.
New value: Non-marketing.
Why bother updating Marketing Status as well?
It keeps your contact counts honest. Non-marketing contacts don’t need to be included in marketing-eligible tallies.
It helps keep you from paying for dead addresses. Spreeflo’s pricing plans bill only marketing contacts, so flipping bounces to non-marketing avoids slow creep in your bill from contacts you can never email again.
Together, these two actions do what founders often try to do manually in spreadsheets: prevent any future marketing traffic from going to a known-bad address and keep billing aligned with reality.
Step 6 (Then branch): Alert operations with context
Suppression protects your reputation. An internal alert turns that into action: someone actually looks at the account and decides what to do.
Next node:
Action: Send Internal Email
Configuration:
Template: “Hard bounce – please investigate”.
From: a sending identity your team recognizes (for example ops@ or support@).
Send only once: on.
Use the internal email template to include rich context:
Contact email and name.
Current plan (e.g., Trial, Pro, Agency).
Key usage stats like
total_projects,last_login_at, orkeywords_trackedif you sync them as attributes.The bounce reason and source (if you store those on the contact via your backend or a previous flow).
This is where Brand Message 3 becomes practical. You’re not just muting a bad address; you’re surfacing at-risk revenue:
For a high-usage agency, ops might reach out via an alternate email, in-app message, or the account owner’s LinkedIn.
For a trial user with no activity, maybe nothing happens. Which is fine: your automations already did the right thing by not harming deliverability for everyone else.
Because this node sends only an internal email, there’s no need for a Time Delay. You are not contacting the bounced address again, just your team.
If you already pipe all critical events into a central system, you can add an optional Webhook action after (or instead of) this internal email to post the same payload into a CRM or ticketing tool.
Step 7 (Else branch): Handle bounces on already-unsubscribed contacts
Back on the “Already not subscribed” branch from Step 3, you still have a choice. Do you care about bounces on contacts who aren’t supposed to be getting marketing email?
Typically this branch catches:
Old system addresses that still exist in your database.
Contacts who unsubscribed in the past but somehow still receive transactional messages.
A light-touch pattern looks like this:
1. Action: Add Tag
Tag:
bounced-non-subscribedor similar.
This keeps a paper trail without cluttering your main hard-bounce reporting.
2. Optional Action: Send Internal Email
Template: “Bounce on non-subscribed contact – check transactional email”.
You might only include this for higher-value segments. You can add another If/Else here using the segment builder to restrict alerts to, say, active paying accounts.
Notice what you don’t do here:
You do not change Email Subscription Status (it was already Unsubscribed or Non-subscribed).
You do not flip Marketing Status again.
For most SEO SaaS products, that’s enough. Your primary risk is repeated hits on actively marketed addresses, and those are taken care of in the main branch.
Optional refinement: Prioritise bounces by account value
If you want to get fancy, insert a Multi-way Split between the Custom Event trigger and the If/Else in Step 3.
For example:
Branch A: Plan is Agency or MRR over $200.
Branch B: Plan is Pro.
Else: Everyone else.
Each of those branches can then run a slightly different suppression and notification pattern:
Agencies might trigger both an internal email and a Webhook to create a ticket in your support queue.
Lower-value contacts might only get suppression and a tag.
This uses the same segment builder criteria, just scoped per branch. It’s overkill when you’re small but starts to matter as your customer base diversifies.
Measuring whether the flow is actually helping
You care about three metrics: bounce rate, suppression accuracy, and ops response time.
This journey touches all three, even if the raw bounce counts live in your sending tool.
1. Bounce rate
Use your email provider’s reports to track overall hard bounce rate per campaign or month.
Once this journey has run for a while, that rate should trend down because bad addresses are rapidly removed from future sends.
For a sanity check inside Spreeflo, create a simple segment of “tag contains
hard-bounce” to see how many contacts have been caught by the flow.
2. Suppression accuracy
Suppression accuracy is “we only suppressed addresses that truly are bad.”
Review the
hard-bouncesegment periodically.Spot check a few contacts and confirm that:
Their addresses are genuinely invalid.
You haven’t mistakenly captured soft bounces because your top-level Custom Event filter was too broad.
If you discover issues, you adjust the event properties you send to the Spreeflo API or tighten the Custom Event trigger’s property conditions.
3. Ops response time
The journey itself has near-zero latency. From bounce webhook hitting your backend to internal email arriving in the ops inbox is usually a matter of seconds once your Spreeflo API integration is in place.
What matters is human reaction time:
Use your helpdesk or ticketing system to see how long it takes someone to touch these alerts.
If the backlog grows, consider routing only high-LTV or agency bounces into the noisy channels and leaving low-value ones purely suppressed without an alert.
Even imperfect ops response beats a world where no one ever hears about bounces at all and your list quietly rots.
Putting it all together for an SEO SaaS
For an SEO SaaS founder, this flow doesn’t feel glamorous. It isn’t a shiny new onboarding sequence or a clever upsell. It’s plumbing.
But it’s the kind of plumbing that protects the stuff you actually care about:
Onboarding drips that nudge trials to add their first keyword.
Weekly ranking summaries that prove your tool’s value to agencies.
“Your organic traffic is slipping on these core pages” alerts that keep users logging back in.
Every one of those messages is a chance to win more lifetime value. Every hard bounce you keep hitting works against that.
With Spreeflo’s journeys, a focused Custom Event trigger, a handful of tagging and subscription nodes, and a single internal email, you build a system that:
Instantly removes bad addresses from marketing traffic.
Keeps your marketing-contact counts (and bills) aligned with reality.
Puts actionable, high-signal events in front of your team instead of burying them in logs.
That’s what founder-led leverage looks like: design the flow once, let it quietly protect your sender reputation and retention every day going forward.
When you’re ready to move beyond firefighting bounces and into smarter lifecycle automation, the same toolkit of campaign and journey automation, tags, and segments is what will power your onboarding, re-engagement, and expansion plays too.
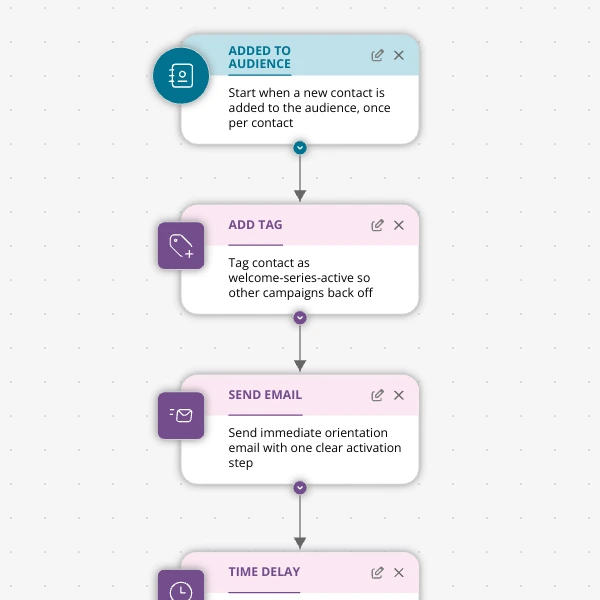
The Shopify app welcome series that turns installs into income
A step-by-step Shopify app welcome email journey for tools like CartSpark, showing how to turn new installs into activated, retained merchants using Spreeflo journeys, tags, and behavioral triggers so fewer trials quietly churn and more trials convert.
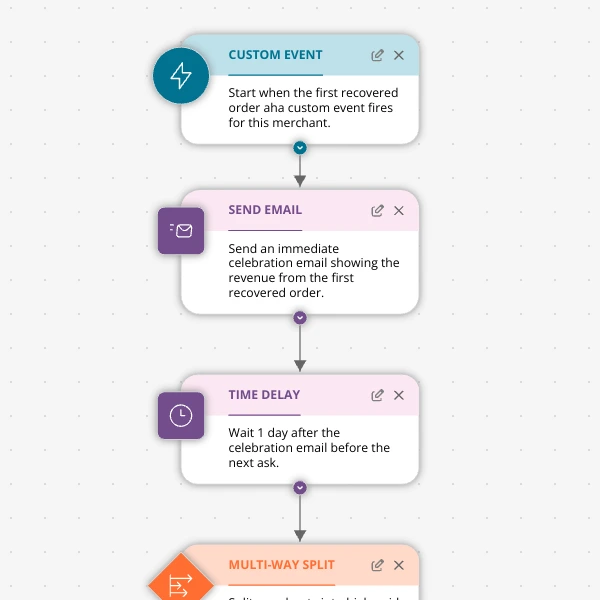
The Aha-Moment Playbook For Shopify Apps: Turn One Magic Action Into Months Of Revenue
A node-by-node playbook for Shopify and e‑commerce apps to center their lifecycle on one aha-moment custom event in Spreeflo, celebrate it, segment merchants by profile and engagement, and turn first recovered value into lasting revenue and retention.
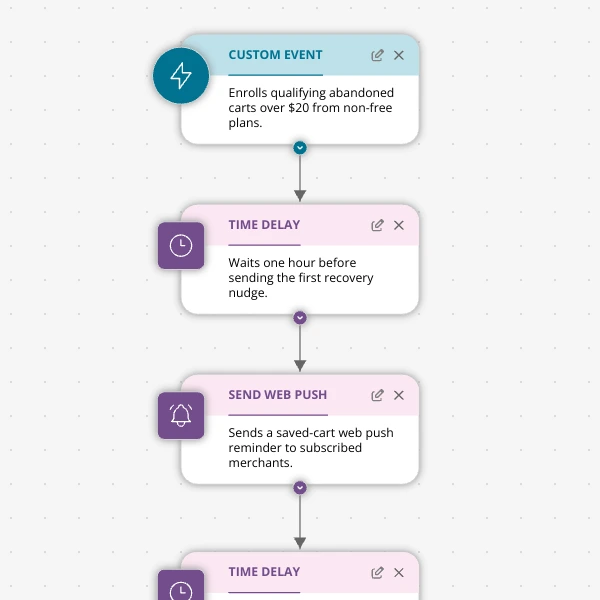
Stop Letting High‑Intent Carts Die: A 3‑Email Recovery Journey for Shopify Apps
A detailed, node-by-node walkthrough of a three-email (plus optional web push) cart-abandonment recovery journey for Shopify apps in Spreeflo, showing how to trigger events, branch on behavior, tag outcomes, and measure recovered carts and revenue.
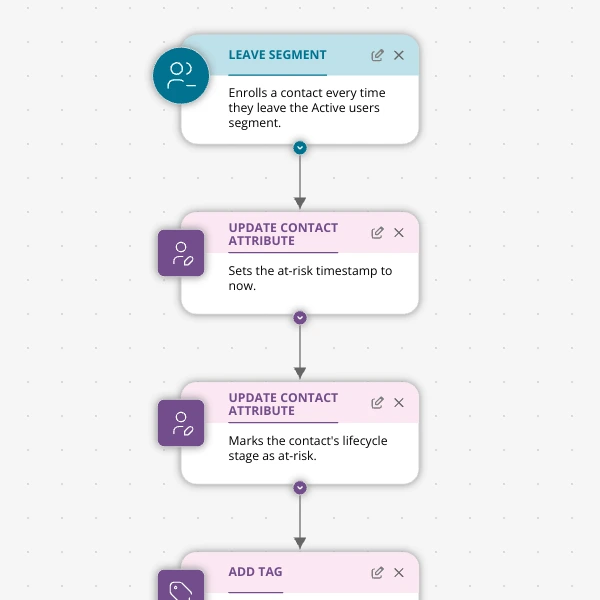
When Active Users Go Dark: A 4‑Touch Win‑Back Journey For Your Shopify App
A detailed, node-by-node Spreeflo journey for winning back previously active Shopify app users who stop engaging, using segment-based triggers, conditional logic, and a four-touch email plus internal alert sequence to recover usage and MRR.